Developing Applications with Things SDK API
To create a new application project using SmartThings™ (ST) SDK API:
-
In Tizen Studio, select File > New > Tizen Project.
-
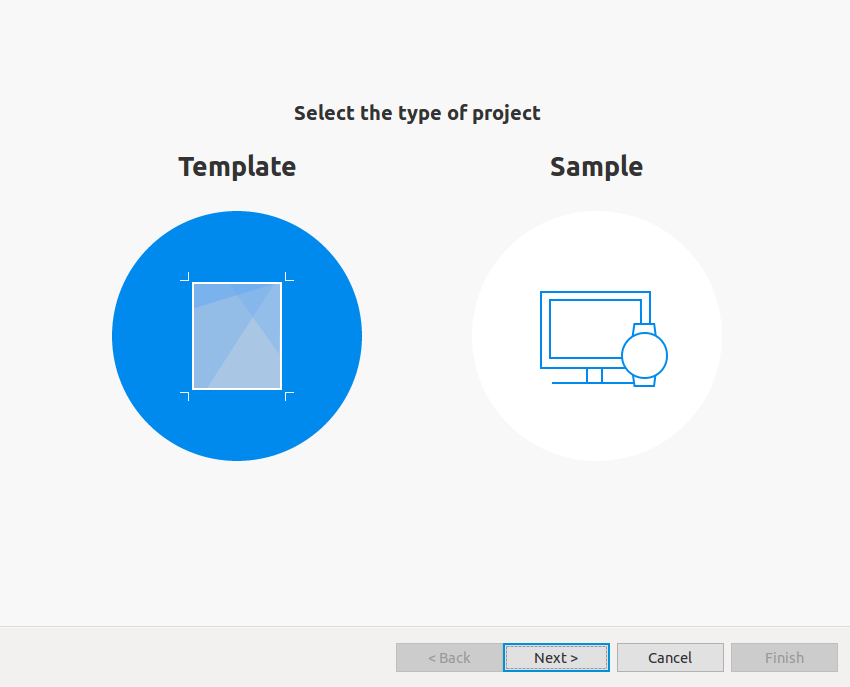
Select Template, and click Next.
-
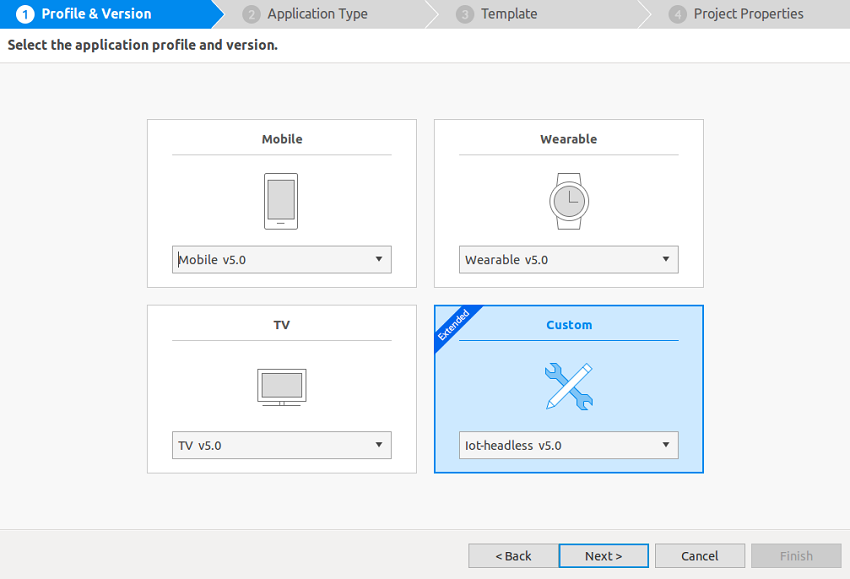
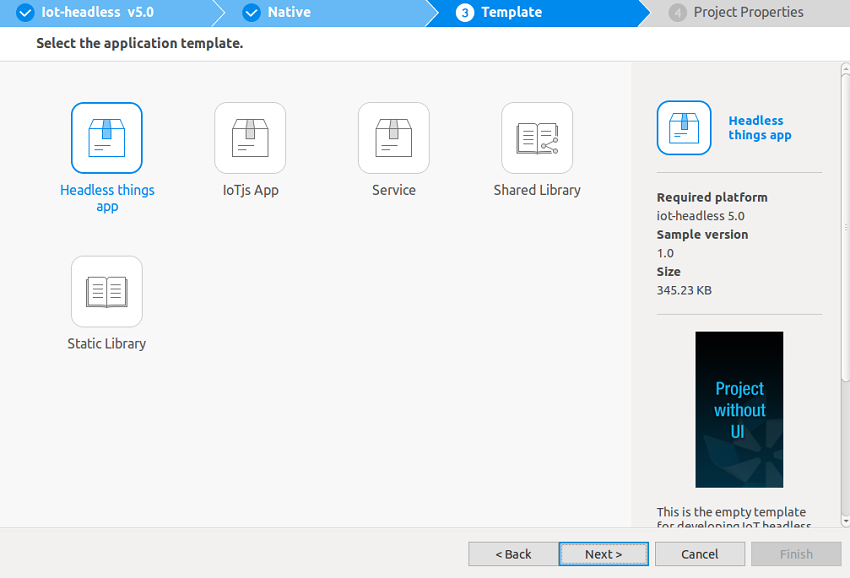
Select Custom > Iot-headless v5.0, and click Next.
-
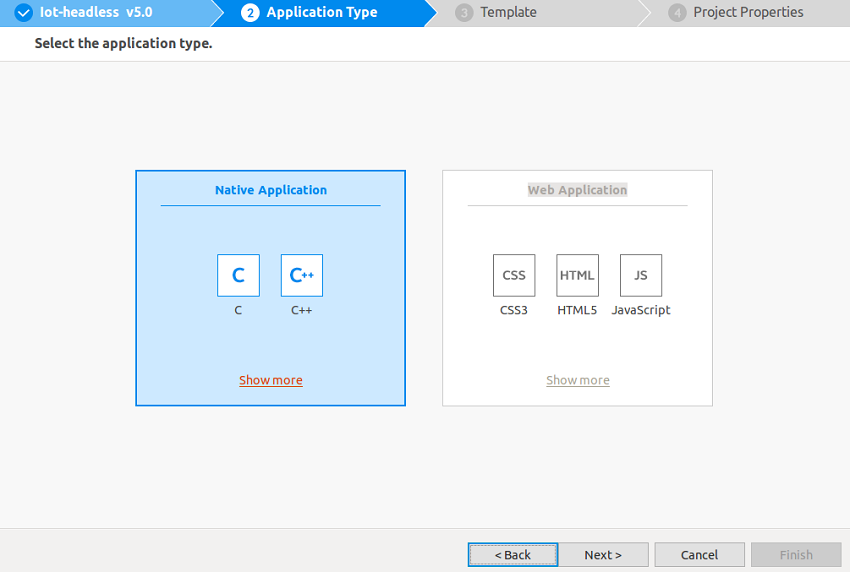
Select Native Application, and click Next.
-
Select Headless things app, and click Next.
-
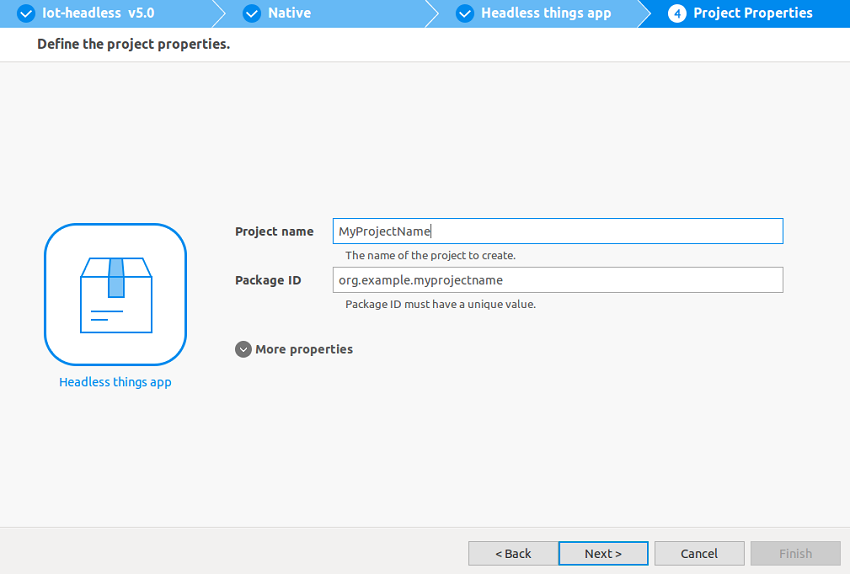
Define the project properties, and click Next.
You can enter a project name (3-50 characters) and a unique package ID. You can also select the location and working sets by clicking More properties.
-
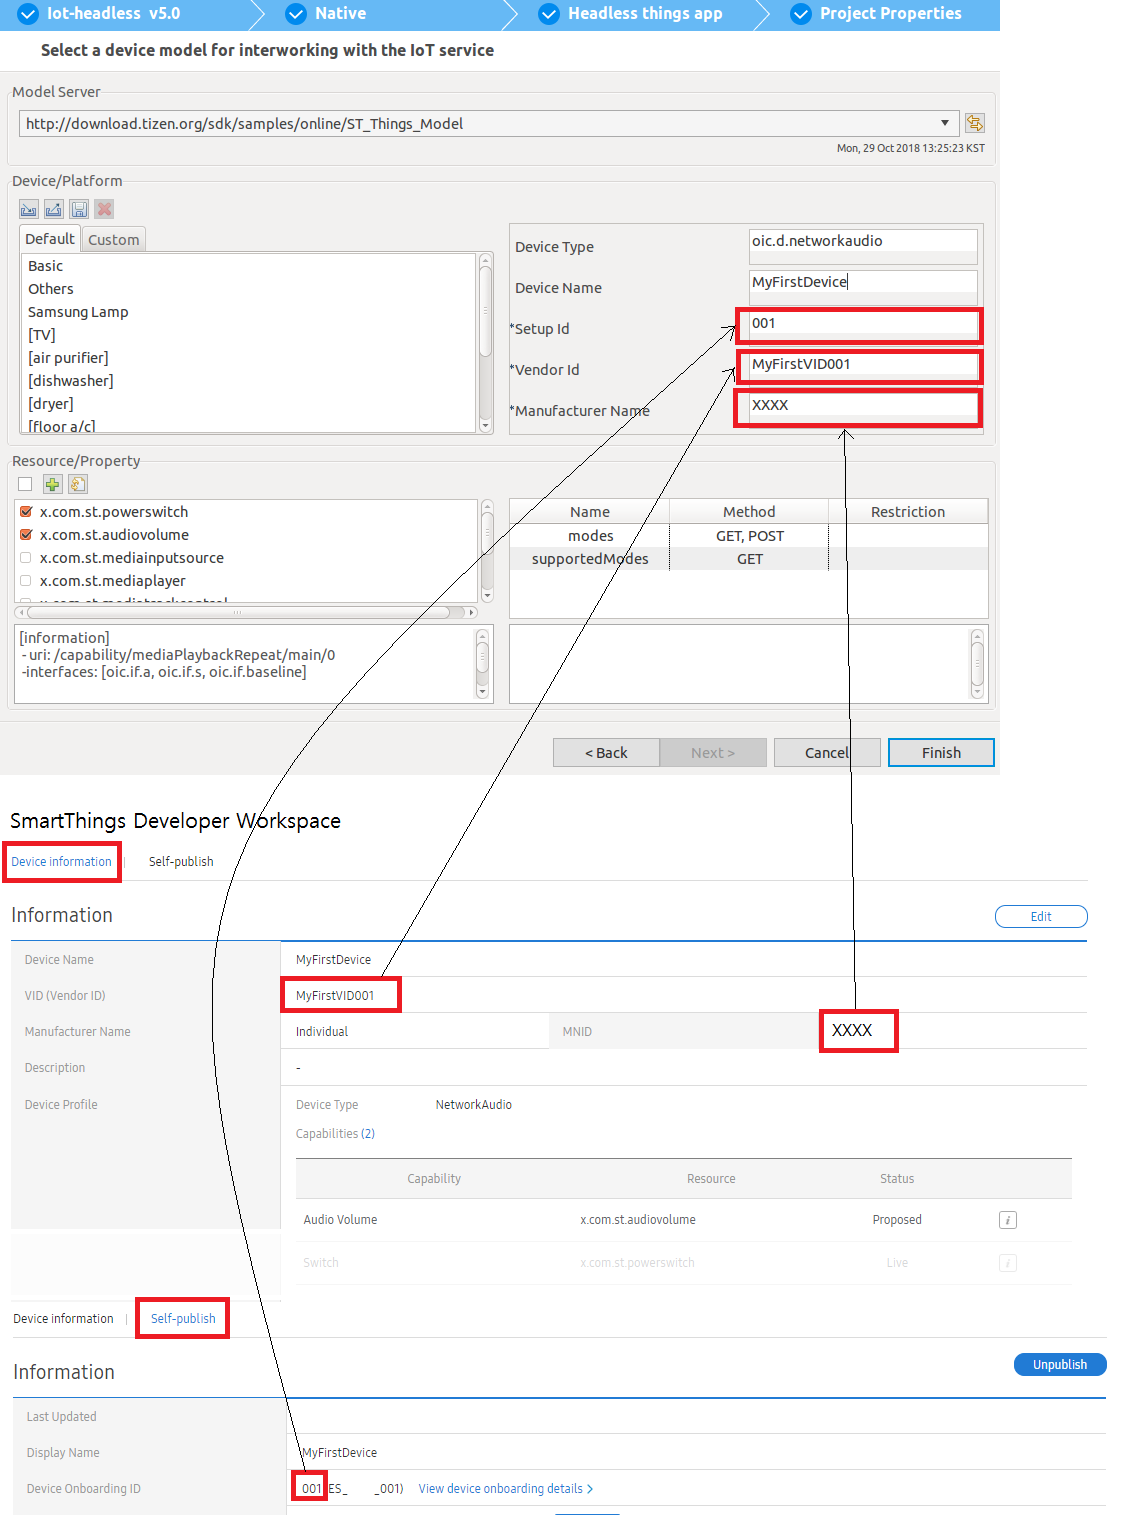
In the Device/Platform list:
-
Select [network audio].
-
Clear the resources except x.com.st.powerswitch and x.com.st.audiovolume.
-
Enter Vendor Id, Manufacturer Name, and Setup Id as VID, MNID, and Device Onboarding ID values. For details, see Developer Workspace site and also Setting up the SmartThings Cloud.
-
Click Finish.
-
-
Edit the source code. The code is composed of a device definition JSON file (in the
res/directory) and code implementation C files.For more information, see Things SDK API. For more information on the JSON file, see Device Definition, and for C APIs and callbacks, see API Usage.
Note
The Network Audio sample application can be built without any modification. To run it, connect the audio jack of the board to a speaker.
Instead of using an existing sample as a basis for your application, you can use the IoT template that makes use of the Things SDK API:
- In Tizen Studio, select File > New > Tizen Project.
- Select Template, click Next, select Custom > Iot-headless v5.0, and click Next.
- Select Native Application, click Next, select the IoT template, and click Finish.
-
You need a certificate to make the device work correctly. You only have to create the certificate once, when you first install Tizen Studio.
-
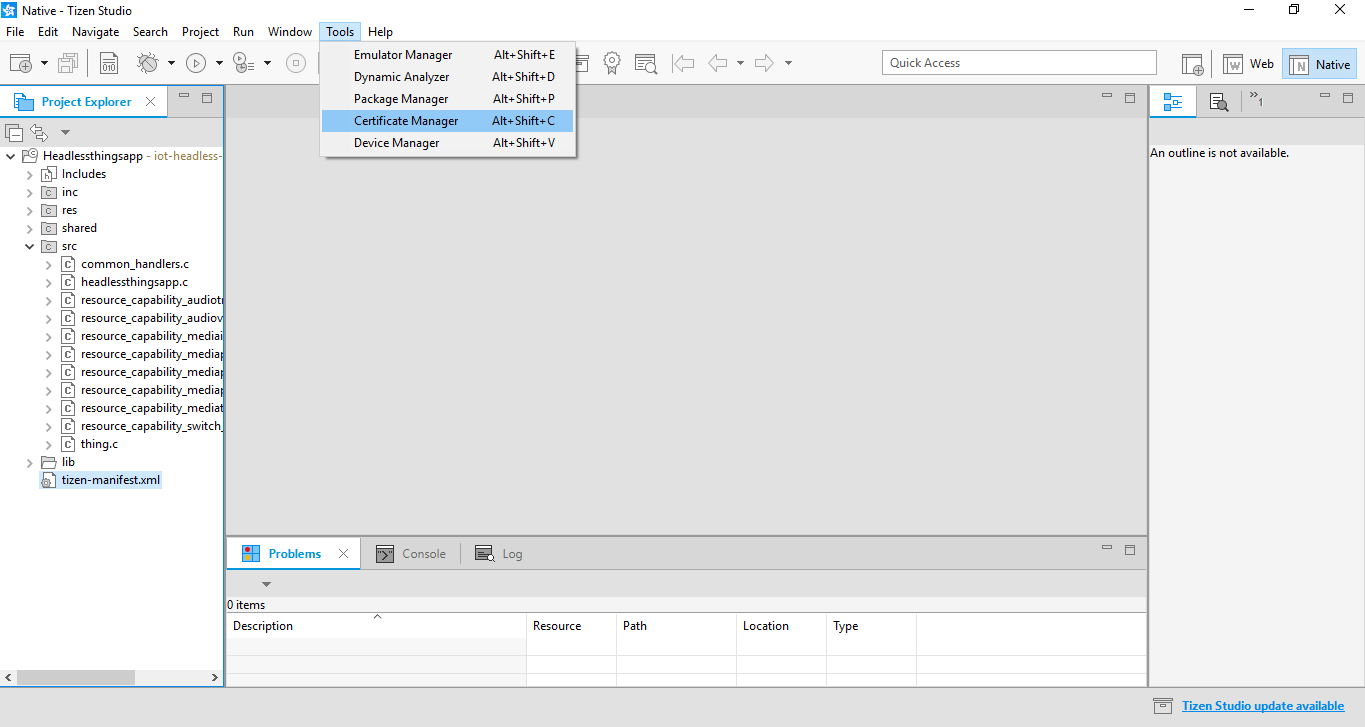
In Tizen Studio menu, open the Certificate Manager by going to Tools > Certificate Manager.
-
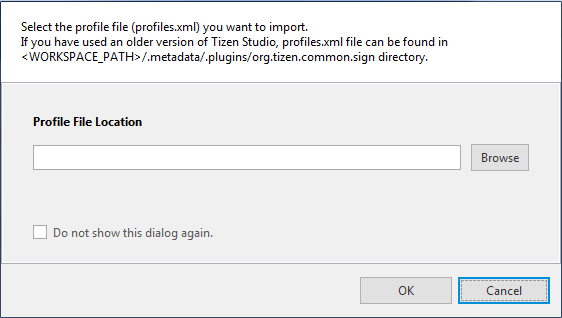
In Migration for Certificate Profile window, click Cancel.
-
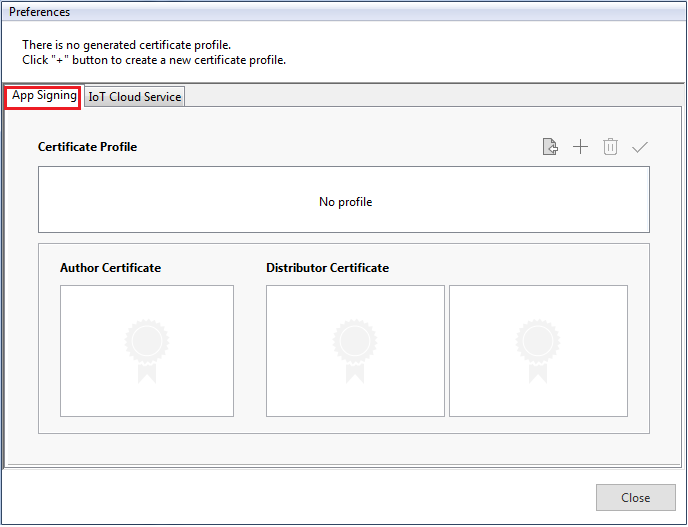
Select the App Signing tab.
-
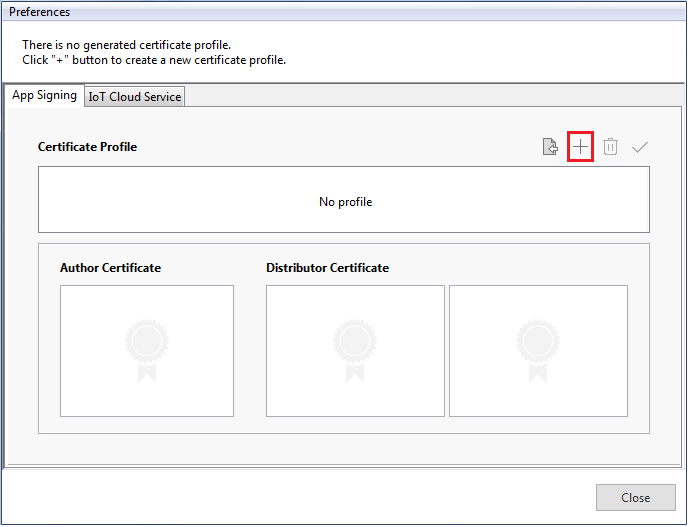
To create a new certificate, click +.
Note
If Samsung Extension SDK is installed, you are prompted Select the type of profile with two choices: Tizen and Samsung.To develop Tizen IoT, select Tizen.
-
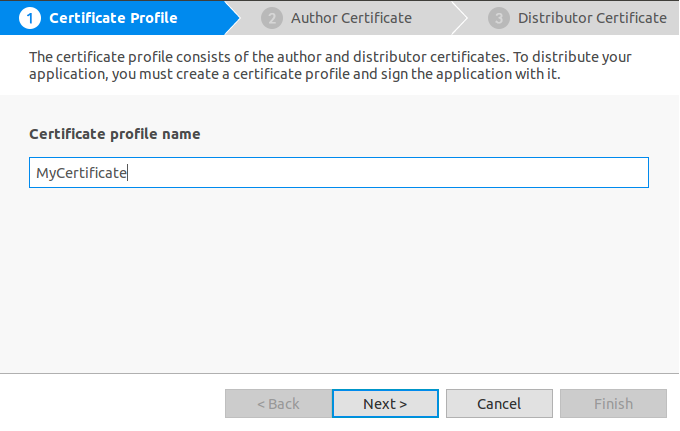
Enter the Certificate profile name and click Next.
-
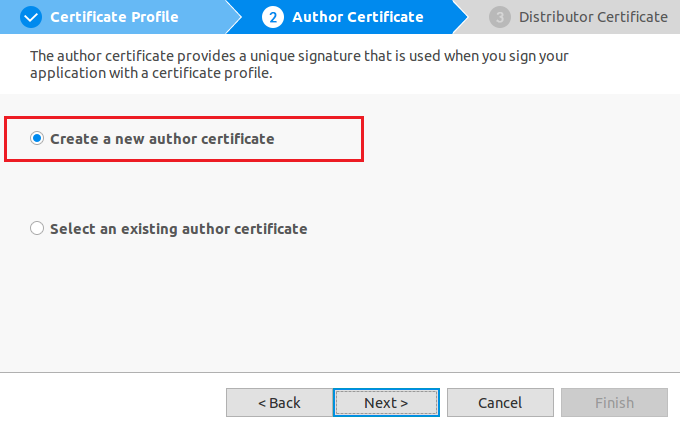
In the Author Certificate tab, select Create a new author certificate, and click Next.
-
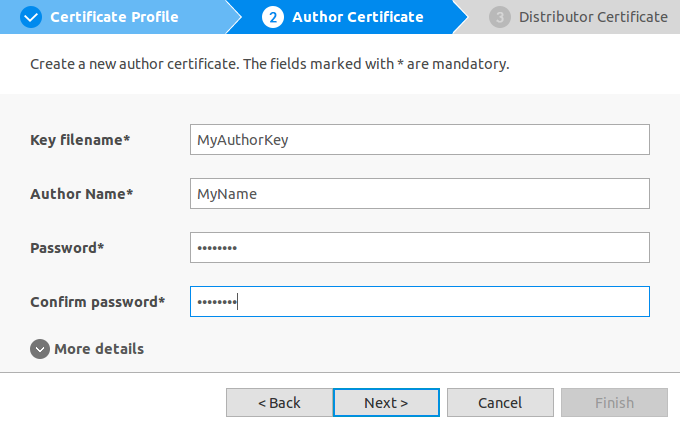
Enter the details in the Key filename, Author Name, Password, and Confirm Password fields, and click Next.
-
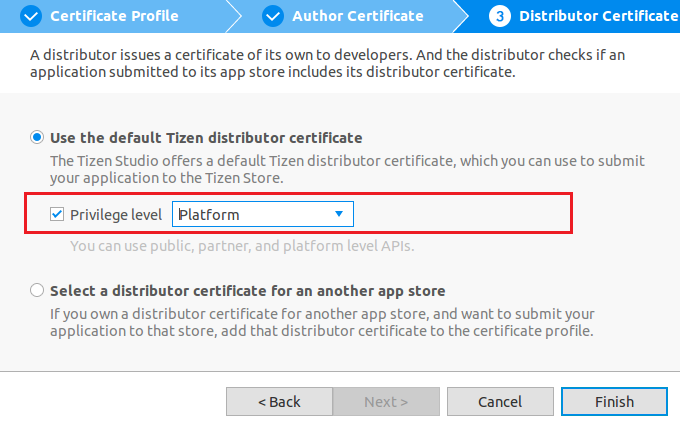
In the Distributor Certificate tab, select Use the default Tizen distributor certificate and select Platform in the Privilege level drop-down list.
Note
The default privilege level is Public, but you can change it to Platform for development purposes.
-
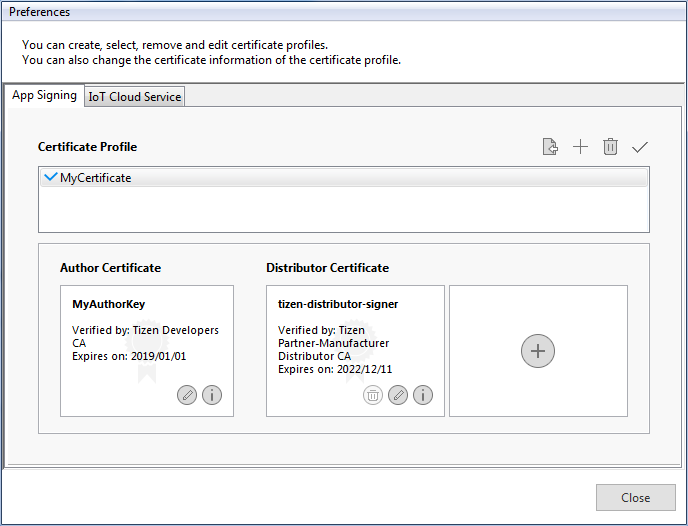
Review certificates information created in the Certificate Manager window.
-
-
To connect to the SmartThings Cloud, you need an MNID (manufacturer ID), a VID (vendor ID), a private key, and a cloud certificate, and you must update the content of the
res/directory of the application with the new information.(For more information, see Setting up the SmartThings Cloud).
Note
- MNID: A unique ID assigned to each developer. When you log in the SmartThings Server, a unique MNID is generated for you.
- VID: A device ID assigned to a developer. You need to assign a unique, alphanumerical ID for each device you develop.
- Private key and cloud certificate: The key and certificate to certify that you are allowed to access the SmartThings Cloud.
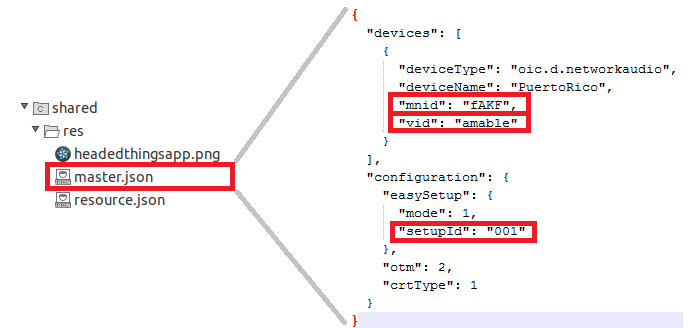
- In the
platformsection of theshared/res/master.jsonfile, check if themnidandvidare correct. Also check ifsetupIdis the same as the ‘Device Onboarding ID’ of SmartThings developers workspace.
- Generate the IoT certificate following the Generating cloud certificates.
-
Connect the Raspberry Pi 3 board to a Linux computer with a USB cable and make SDB connection.
For more information, see Setting up the board.
-
Confirm that rpi3 is shown in Tizen Studio toolbar.(This will be shown when SDB is connected.)

-
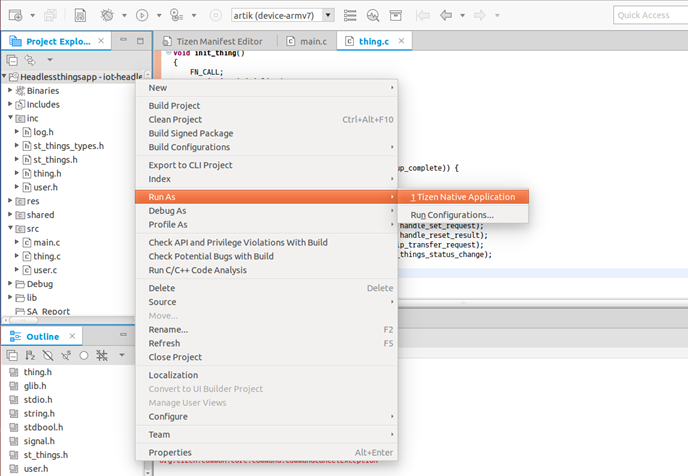
In Tizen Studio Project Explorer view, right-click the project and select Run As > Tizen Native Project.