Button
The button component changes the default browser buttons to special buttons with additional configuration options, such as an icon, corners, and a shadow.
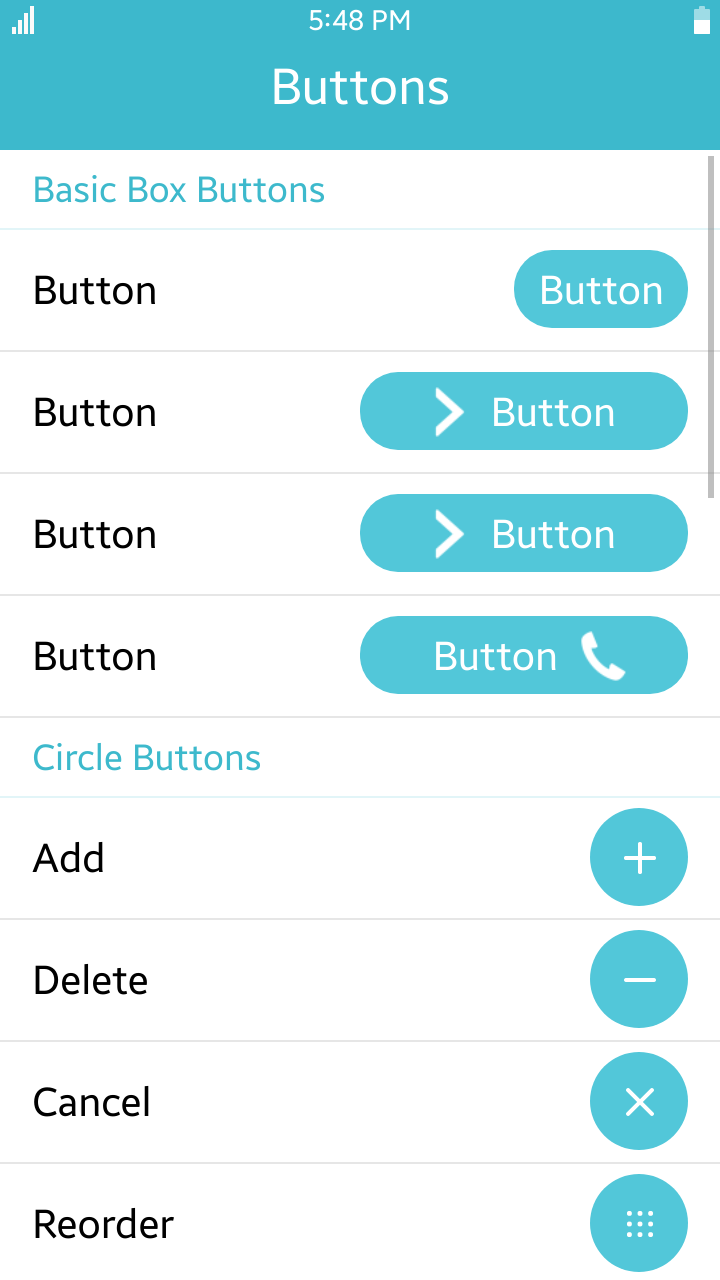
Table of Contents
Default Selectors
By default, all <button> elements are displayed as Tizen Web UI buttons.
In addition, all elements with the class="ui-btn" and data-role="button" attribute are displayed as Tizen Web UI buttons.
Manual Constructor
To manually create a button component, use the component constructor from the tau namespace:
HTML code:
<div class="ui-btn" id="button"></div>
JS code:
var buttonElement = document.getElementById("button"),
    button = tau.widget.Button(buttonElement);
The constructor requires an HTMLElement parameter to create the component, and you can get it with the document.getElementById() method. The constructor can also take a second parameter, which is an object defining the configuration options for the component.
HTML Examples
-
To create a simple button from a link using the
classselector:<a href="#page2" class="ui-btn">Link button</a>
-
To create a simple button using the
<button>element:<button>Button element</button>
Options
The options for a component can be defined as data-... attributes or passed as parameters to the constructor.
You can change an option for the component using the option method.
Summary
| Option | Input type | Default value | Description |
|---|---|---|---|
| data-icon | string | null | null | Icon type. |
| data-iconpos | "left" | "right" | "top" | "bottom" | "notext" | null | "left" | Position of the icon. |
| data-inline | boolean | false | If the value is true, the button has the display = "inline" CSS property. |
| data-disabled | boolean | false | If the value is true, the button has disabled status. |
| data-style | "circle" | "nobg" | null | null | Style of the button. |
Inline Buttons
By default, all buttons in the body content are styled as block-level elements, so they fill the width of the screen. If you want a more compact button that is only as wide as the text and icons inside it, add the data-inline="true" attribute to the button.
<a href="#" class="ui-btn" data-inline="true">Cancel</a>
If you have multiple buttons that must sit side-by-side on the same line, add the data-inline="true" attribute to each button. This styles the buttons to be the width of their content and floats the buttons so that they sit on the same line.
<a href="#" class="ui-btn" data-inline="true">Cancel</a>
<a href="#" class="ui-btn" data-inline="true">Save</a>
Icon Positioning
By default, all icons in buttons are placed to the left of the button text. This default can be overridden using the data-iconpos attribute.
<a href="#" class="ui-btn" data-icon="delete" data-iconpos="right">Delete</a>
Possible values for the data-iconpos attribute:
"left": Creates the button with a left-aligned icon."right": Creates the button with a right-aligned icon."top": Creates the button with the icon positioned above the text."bottom": creates the button with the icon positioned below the text.
You can also create an icon-only button by setting the data-iconpos attribute to "notext". The button plugin hides the text on-screen, but adds it as a title attribute to the link to provide context for screen readers and devices that support tooltips.
<a href="#" class="ui-btn" data-icon="delete" data-iconpos="notext">Delete</a>
Methods
To call a method on the component, use one of the existing APIs:
HTML code:
<div class="ui-btn" id="button"></div>
JS code:
var buttonElement = document.getElementById("button"),
    button = tau.widget.Button(buttonElement);

/*
    button.methodName(methodArgument1, methodArgument2, ...);
    For example:
*/
button.value("text");
Summary
| Method | Description |
|---|---|
Button disable() |
Disables the button. |
Button enable() |
Enables the button. |
Button refresh() |
Refreshes a button markup. |
string value(string? value) |
Gets or sets a value. |
disable-
Disables the button.
Button disable()
The method sets the disabled attribute for the button and changes the look of the button to the disabled state.
Return value:
Type Description Button Returns this. Code example:
HTML code:
<div class="ui-btn" id="button"></div>
JS code:
var element = document.getElementById("button"), buttonWidget = tau.widget.Button(element); buttonWidget.disable(); enable-
Enables the button.
Button enable()
The method removes the disabled attribute from the button and changes the look of the button to the enabled state.
Return value:
Type Description Button Returns this. Code example:
HTML code:
<div class="ui-btn" id="button"></div>
JS code:
var element = document.getElementById("button"), buttonWidget = tau.widget.Button(element); buttonWidget.enable(); refresh-
Refreshes a button markup.
Button refresh()
The method rebuilds the DOM structure of the button component. It must be called after you manually change the HTML attributes of the component's DOM structure.
The method is called automatically after any component option is changed.
Return value:
Type Description Button Returns this. Code example:
HTML code:
<div class="ui-btn" id="button"></div>
JS code:
var element = document.getElementById("button"), buttonWidget = tau.widget.Button(element); buttonWidget.refresh(); value-
Gets or sets a value.
string value(string? value)
Since: 2.3
The method returns the inner text of the button or sets the text of the button.
Parameters:
Parameter Type Required/optional Default value Description value string Optional Text to set for the button. Return value:
Type Description string In the get mode, returns the inner text of the button. Code example:
HTML code:
<div class="ui-btn" id="button"></div>
JS code:
var element = document.getElementById("button"),
    buttonWidget = tau.widget.Button(element),

    /* Value contains inner text of button */
    value = buttonWidget.value();

/* "New text" will be text of button */
buttonWidget.value("New text");