Layouts
Overview
The Layout framework enables View to be automatically positioned within a parent View that has been assigned a layout.
The framework provides a common method to layout Views with just minimal setup in the application.
Especially, NUI Layouts provide advanced reusable laying out capabilities. These capabilities separate the layout logic from Views into distinct layouts so that View's responsibility is reduced to building and rendering the content.
The default NUI layouts are Absolute Layout, Linear Layout, Grid Layout, Flex Layout, and Relative Layout.
When the default layouts are assigned to View, the children added to this View are positioned and sized according to the layout. The specification and properties set on the parent View also affect the position and the size of children.
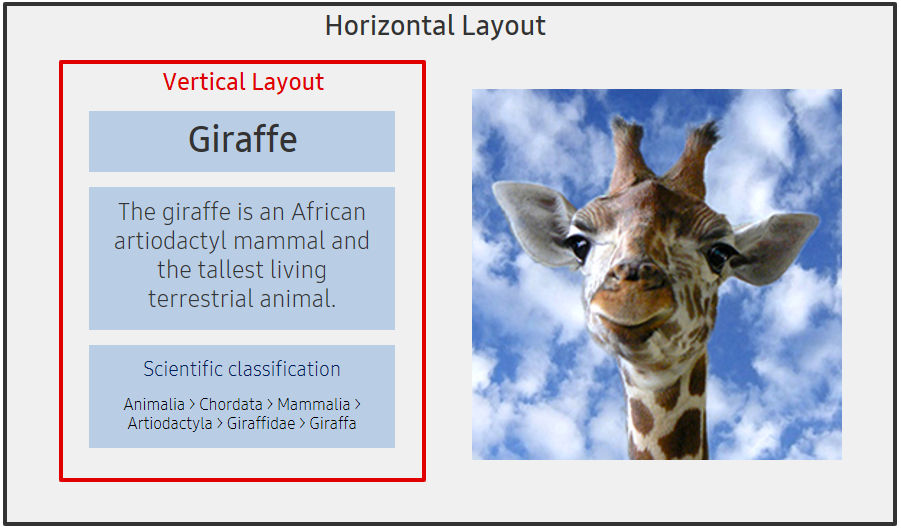
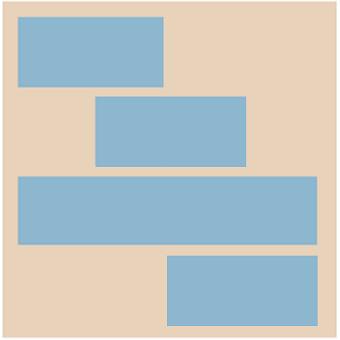
In addition, the layout framework allows nested layouts. View with a layout can be added to another View with a layout. A View set by one layout can include an additional View set by another layout. For example, the following image shows View with a horizontal layout, which has a child View with the vertical layout:
A View can be assigned to any layout and then can be re-assigned to a different layout. However, a layout can be used with one View at a time.
New layouts can be implemented by deriving them from the layout base class and positioning the children according to the requirement. To create a custom layout, see Creating Custom Layouts.
Common layouts
| Type | Description | Look |
|---|---|---|
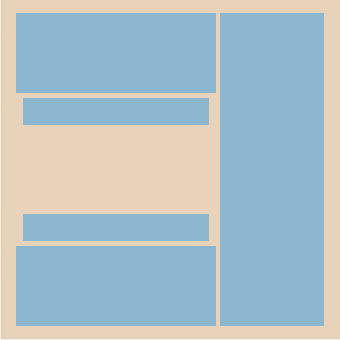
| AbsoluteLayout | AbsoluteLayout is the default View layout that allows explicit positioning of child elements. The position of children starts from the top of the layout and can be set using the Position property.Guide / API Documentation / C# code / XAML code |
 |
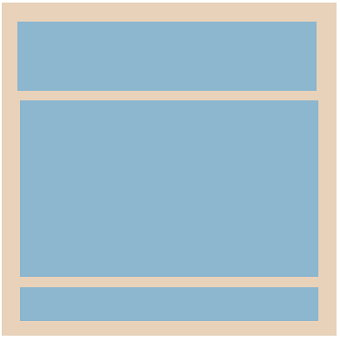
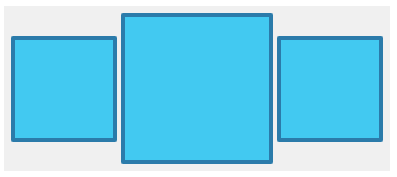
| LinearLayout | LinearLayout is a box layout that arranges the child views vertically or horizontally based on LinearOrientation property. LinearAlignment defines starting position of the children. CellPadding property controls the space between views except for the start, end, top, or bottom of the layout.Guide / Sample / API Documentation / C# code / XAML code |
 |
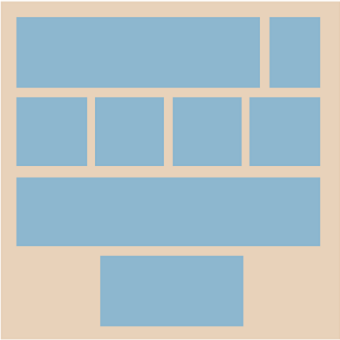
| GirdLayout | GridLayout is a grid box for the two dimensional layout. It constraints the x and y position, width, and height of the child actors. It positions the children in a grid form, where the size of each column and row is set to the largest size of the cells belonging to their axis. Guide / Sample / API Documentation / C# code / XAML code |
 |
| FlexLayout | FlexLayout is a flexible box layout, that provides a more efficient way to layout, align, and distribute space among items in the container, even when their size is unknown or dynamic. The Tizen layout provides features such as wrapping that automatically positions items that do not fit on axis to another row or column.Guide / Sample / API Documentation / C# code / XAML code |
 |
| RelativeLayout | RelativeLayout is a box layout that displays views in the relative positions to the parent or the sibling view. The area of a RelativeLayout box can be specified by using left, right, top and bottom offsets, and the child elements can be aligned vertically or horizontally.Guide / API Documentation / C# code / XAML code |
 |
How to lay out view
This section explains how to set the layout to View and how to handle the size and position of its children.
In addition, the section explains how to set minimum and maximum size and how padding and margin work in NUI Layout framework.
Set view layout
To layout the children in a View as desired, you must create a layout and set it to the View. NUI Layouts support the extra settings. For example, you can set the number of columns for a GridLayout.
The following code shows how to create View and LinearLayout, and how to set the layout on View.
LinearLayout can be vertical or horizontal. In this example, the linear layout has a horizontal orientation:
                C#

                    Copy


            View parentView = new View();

var layout = new LinearLayout();
layout.LinearOrientation = LinearLayout.Orientation.Horizontal;

parentView.Layout = layout;
A View can be assigned to a new layout. This change rearranges the children in the View as described by the new layout.
At a time, you can assign only one layout to a single View. If you assign the same layout to multiple Views then the layout is applied only to the last View.
If a layout is moved from one View to another, the default layout is assigned to “View” from which it is moved.
The following code shows how to change the layout from LinearLayout to GridLayout on an event occurrence:
                C#

                    Copy


            View parentView = new View();

var layoutLinear = new LinearLayout();
layout.LinearOrientation = LinearLayout.Orientation.Horizontal;

parentView.Layout = layoutLinear;

...

someAction.Event += (sender, e) =>
{
  parentView.Layout = new GridLayout();
}
Size specifications
Size specification is used to specify the preferred size of View within the layout framework. Height and width are individual values, so each value can have a different specification.
Following are the two size specifications available for View:
- Setting explicit value
- Layout parameters
You can provide an explicit value, either using the existing Size API or setting a pixel value to the specification. You can specify the exact measurement for the width and height value.
The following code shows how to use the Specification API:
                C#

                    Copy


            View child1 = new View();
child1.WidthSpecification = 90;
child1.HeightSpecification = 90;

View child2 = new View();
child2.WidthSpecification = 120;
child2.HeightSpecification = 120;

View child3 = new View();
child3.WidthSpecification = 90;
child3.HeightSpecification = 90;
You can use the layout parameters MatchParent or WrapContent to set the width and height values as relative sizes. MatchParent extends the size of a child to its parent View. WrapContent shrinks the size of the parent or child View to the size of the child View.
-
WrapContentIf the height or width specification of
Viewis set toWrapContent, that size of theViewchanges to wrap around the child. C#Copy
View childView = new View(); childView.WidthSpecification = LayoutParamPolicies.WrapContent; childView.HeightSpecification = LayoutParamPolicies.WrapContent; -
MatchParentIf the height or width specification of
Viewis set toMatchParent, the height or width extend and fit to parent size. C#Copy
View childView = new View(); childView.WidthSpecification = LayoutParamPolicies.MatchParent; childView.HeightSpecification = LayoutParamPolicies.MatchParent;
Padding and margin
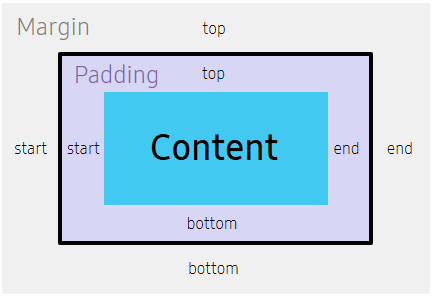
Padding and Margin provide additional control within a layout to achieve a desired look.
Padding and Margin use the four properties of the Extents class to set their positions. The four properties are Start, Top, End, and Bottom.
Padding
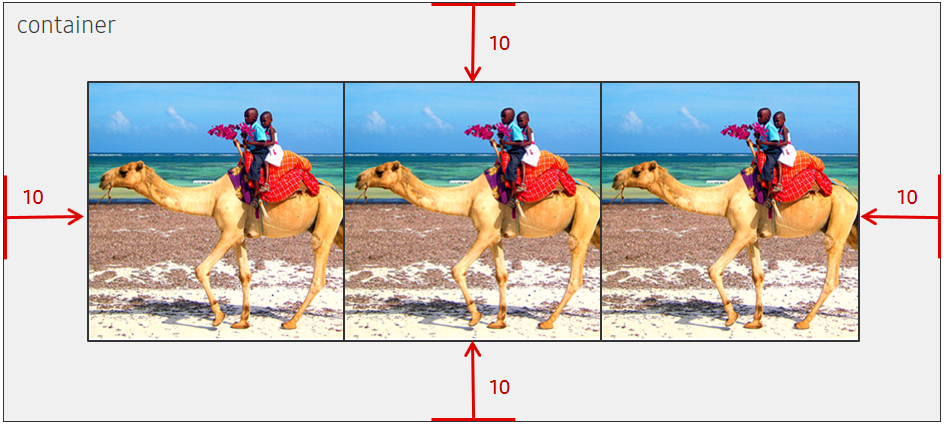
Padding is the internal space between the boundary of View and its content.
View with a layout will have child Views as content. If you set Padding to a parent View, then the padding decides the distance from the parent View to the child Views.
Padding gives an offset to the children in a Layout View.
C#
Copy
View container = new View();
var layout = new LinearLayout();
container.Layout = layout;
container.Padding = new Extents(10, 10, 10, 10);
View childView = new View();
childView.WidthSpecification = LayoutParamPolicies.MatchParent;
childView.HeightSpecification = LayoutParamPolicies.MatchParent;
container.Add(childView);
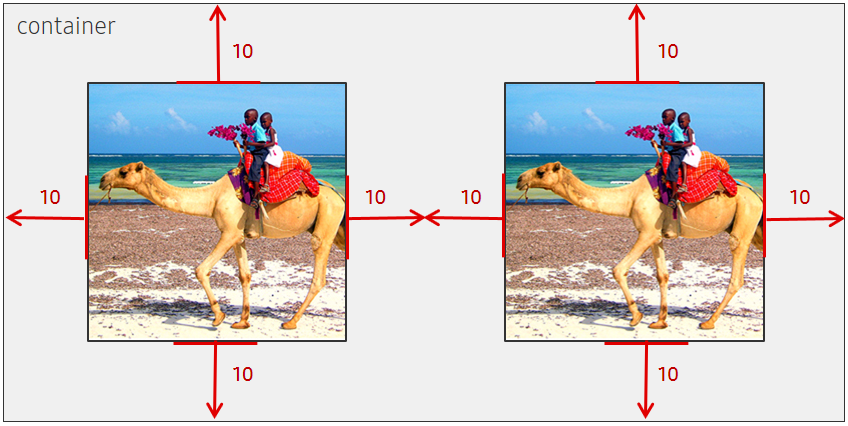
Margin
Margin is the external space around a View. View with a layout will have child Views as content.
If you set Margin to a child View, then the margin decides the distance from the parent View to the child View.
C#
Copy
View container = new View();
var layout = new LinearLayout();
container.Layout = layout;
View childView = new View();
childView.WidthSpecification = LayoutParamPolicies.WrapContent;
childView.HeightSpecification = LayoutParamPolicies.WrapContent;
childView.Margin = new Extents(10, 10, 10, 10);
View childView2 = new View();
childView2.WidthSpecification = LayoutParamPolicies.WrapContent;
childView2.HeightSpecification = LayoutParamPolicies.WrapContent;
childView2.Margin = new Extents(10, 10, 10, 10);
container.Add(childView);
container.Add(childView2);
Minimum and maximum sizes
The Layout framework controls the size of Views it lays out. The size of a child View can be smaller or larger than its natural size or a specified size. This is shown in the following code:
In the NUI Layout framework, a preferred minimum and maximum size is provided if a preference exists. Then, the Layout framework tries to keep the size of View within the given values.
The layout parameters such as MatchParent and WrapContent are used to minimize or maximize the size of View.
If you specify an explicit size and set the minimum or maximum size, the NUI Layout framework ensures that the explicit size is within the minimum and maximum boundary.
                C#

                    Copy


            View childView = new View();
childView.WidthSpecification = LayoutParamPolicies.WrapContent;
childView.HeightSpecification = LayoutParamPolicies.WrapContent;
childView.MinimumSize.width = 200;
childView.MinimumSize.height = 200;
childView.MaximumSize.width = 400;
childView.MaximumSize.height = 400;
Related information
- Dependencies
- Tizen 5.5 and Higher