Hybrid application development
Tizen platform allows you to create hybrid application packages combining .NET, Native, and Web applications. This document explains how to develop hybrid applications using Visual Studio Code Extension for Tizen.
Develop Hybrid application
The following sections explain how to use Visual Studio Code Extension for Tizen to develop your hybrid applications.
Create Tizen Native project
To create a Tizen Native project: Refer to Create Tizen Native project
Create Tizen Dotnet project
-
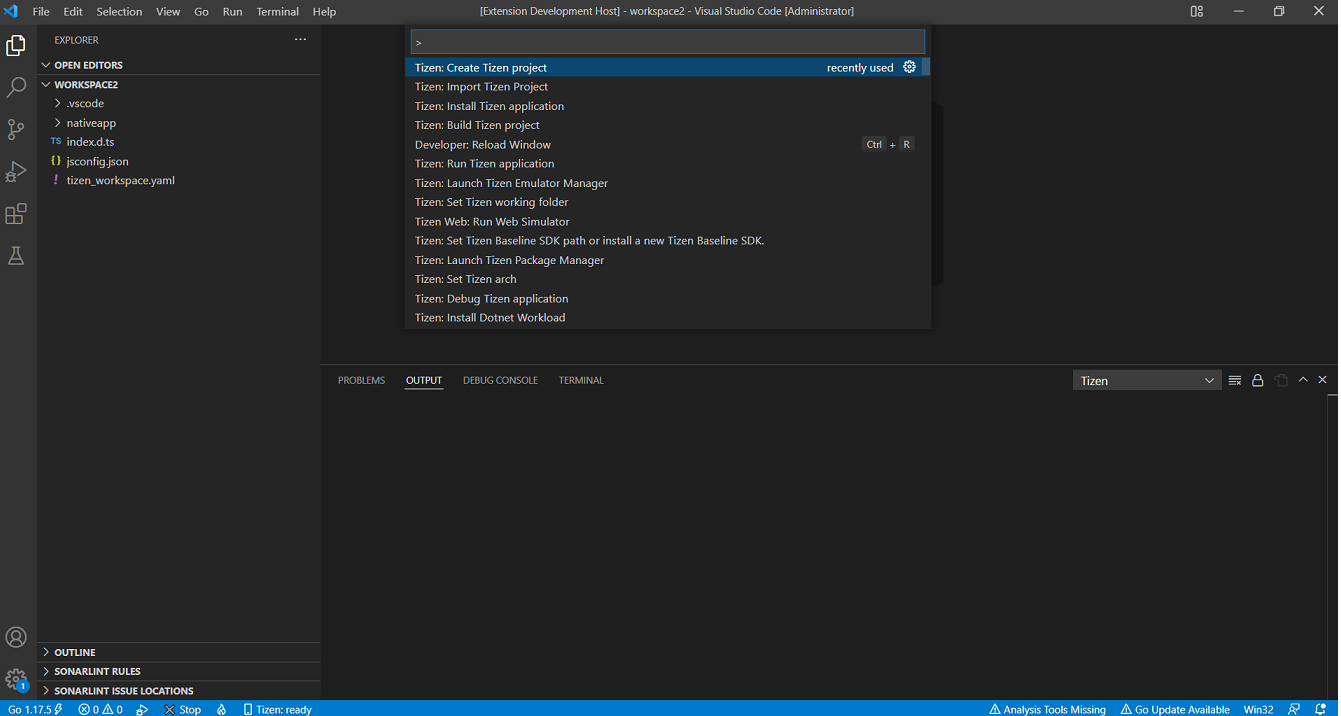
Open the Command Palette and select Tizen: Create Tizen project.
-
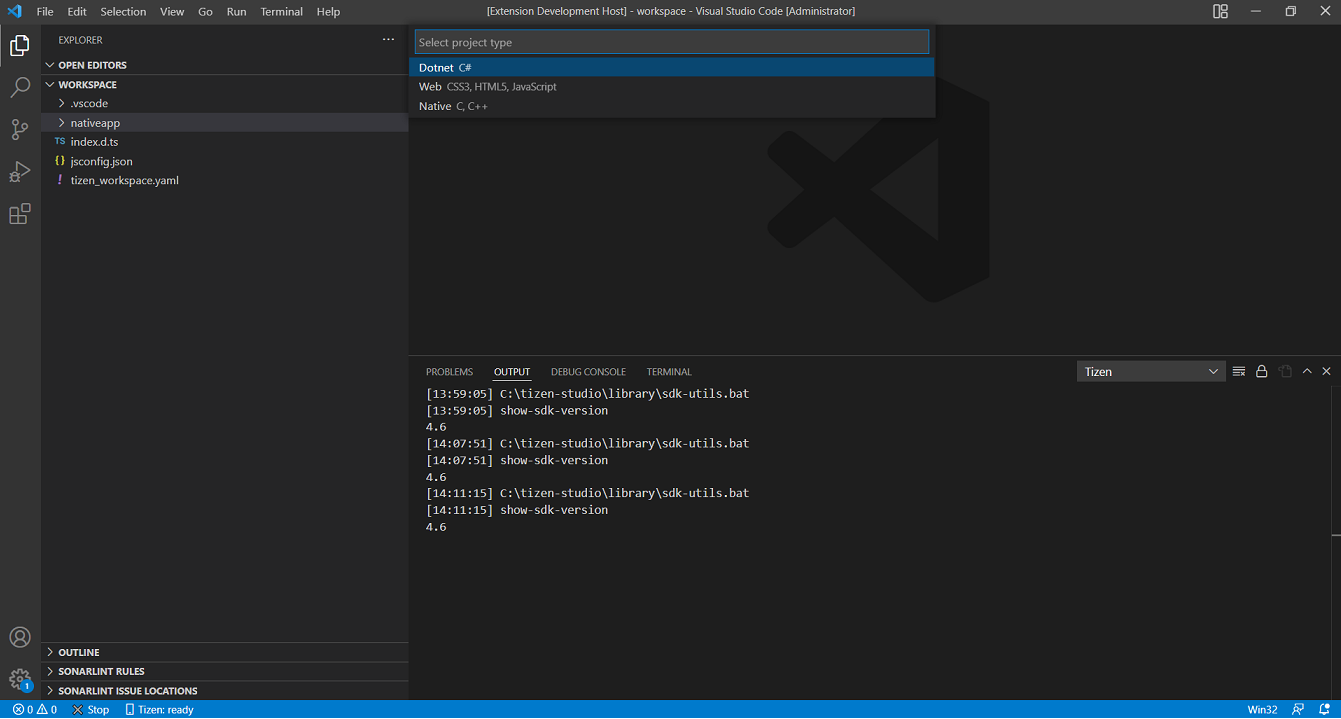
Select the project type as Dotnet.
-
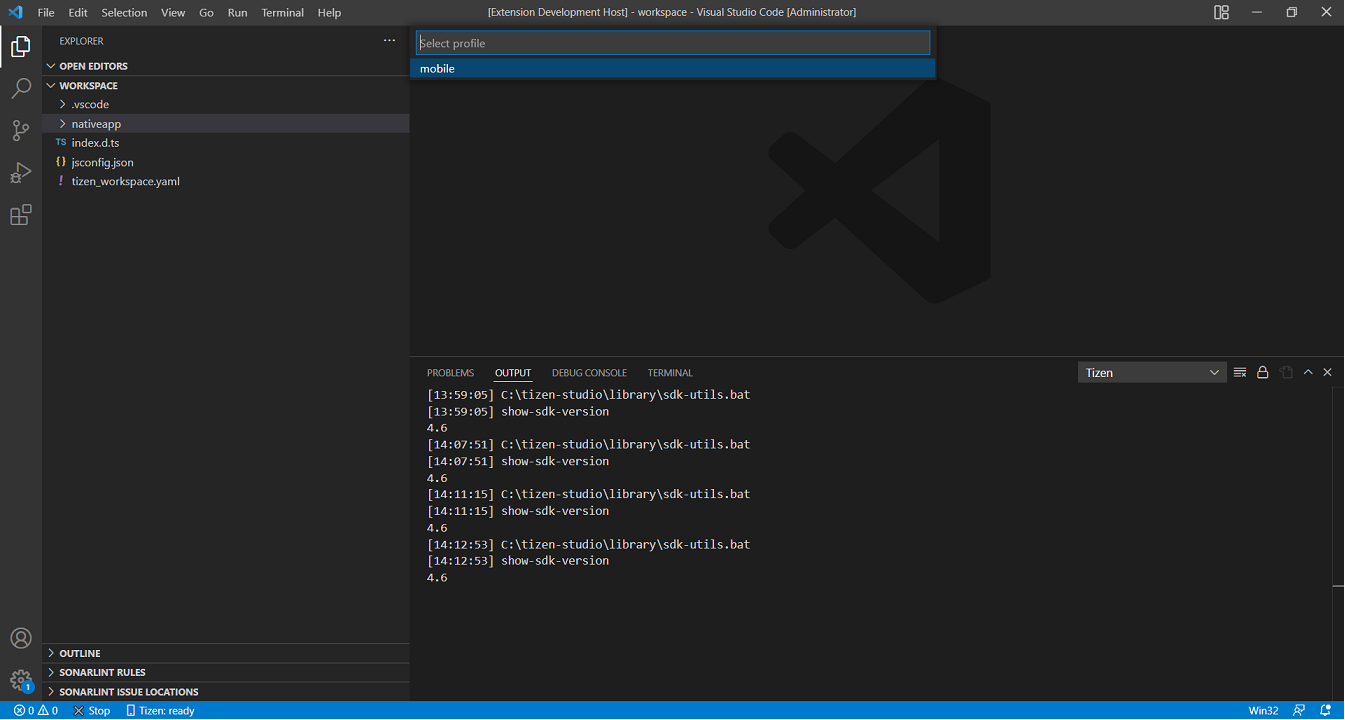
Select the required profile for your application development.
-
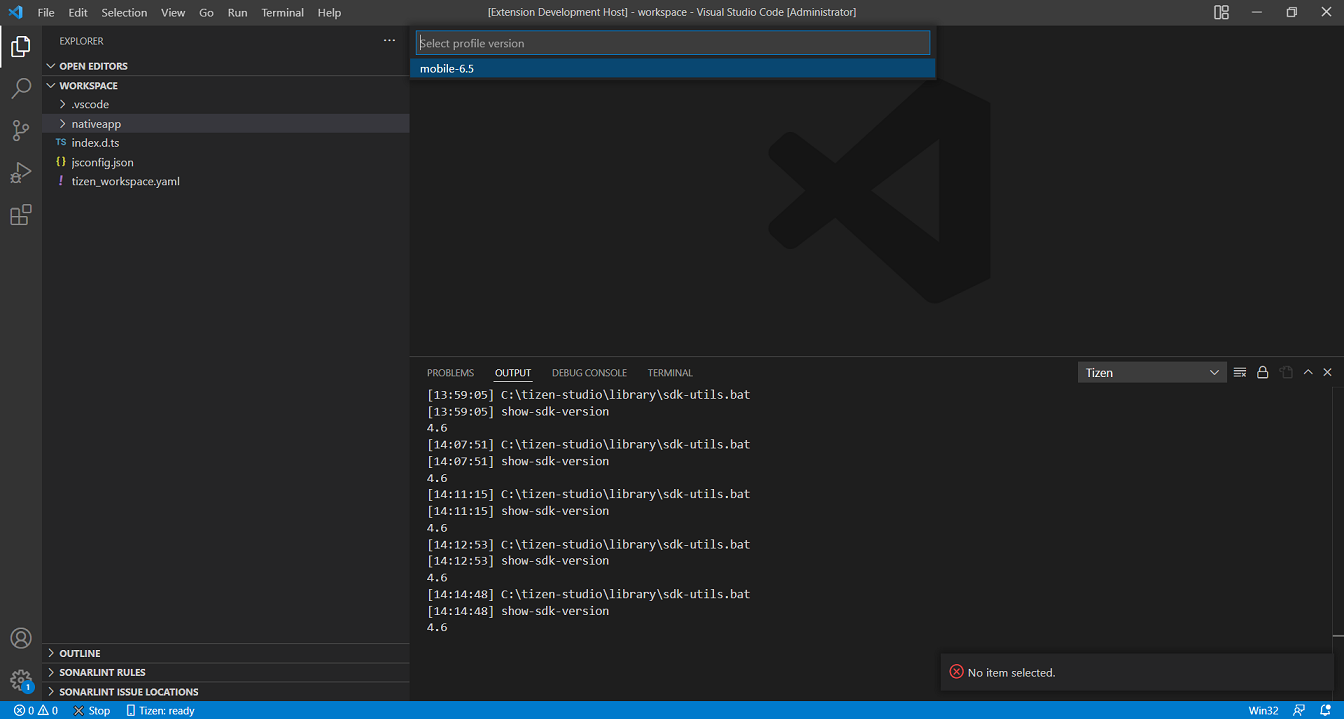
Select the profile version for your application.
-
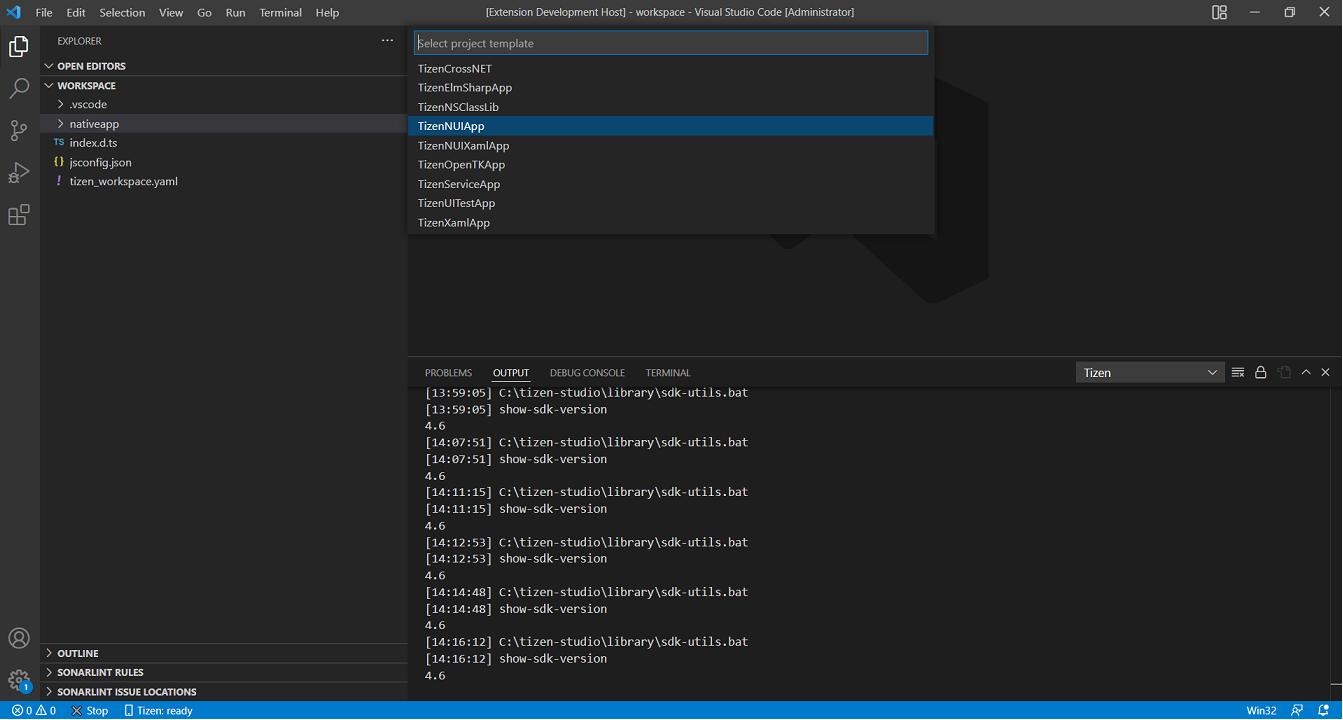
Select the required project template(eg:TizenNUIapp) for your application from template list.
-
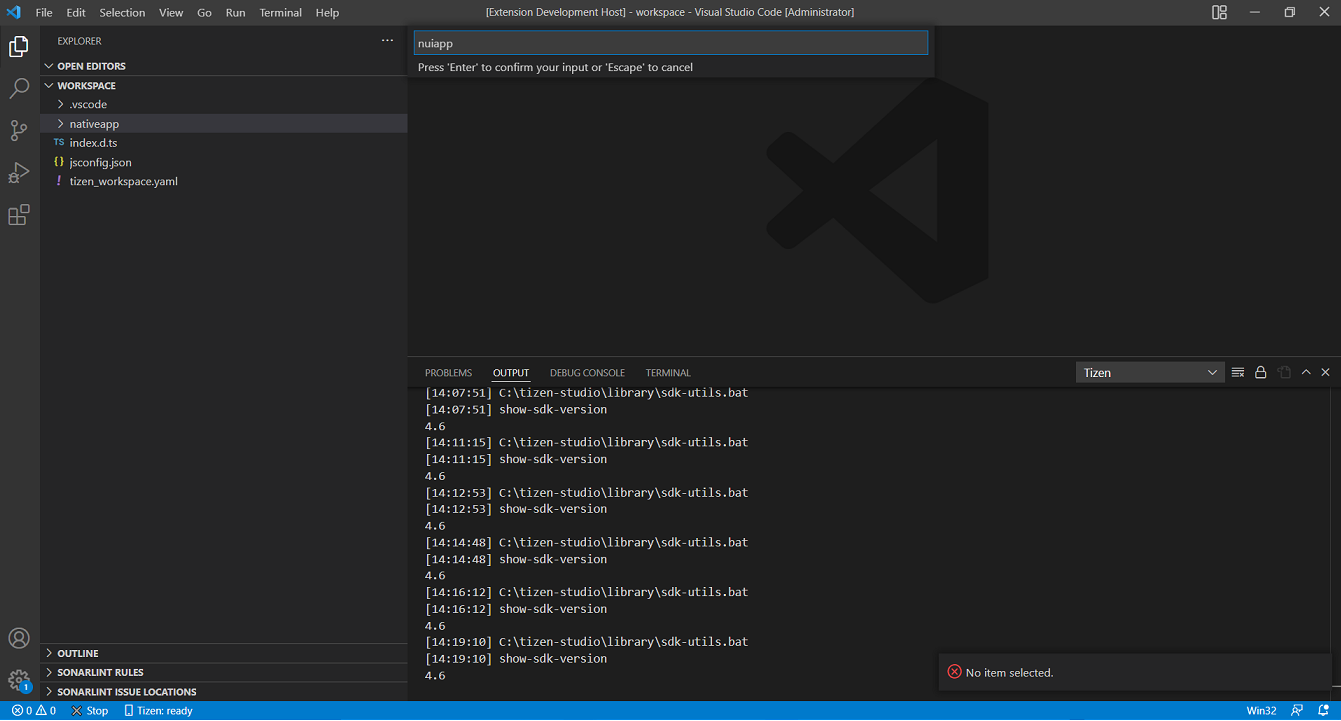
Enter the project name.
-
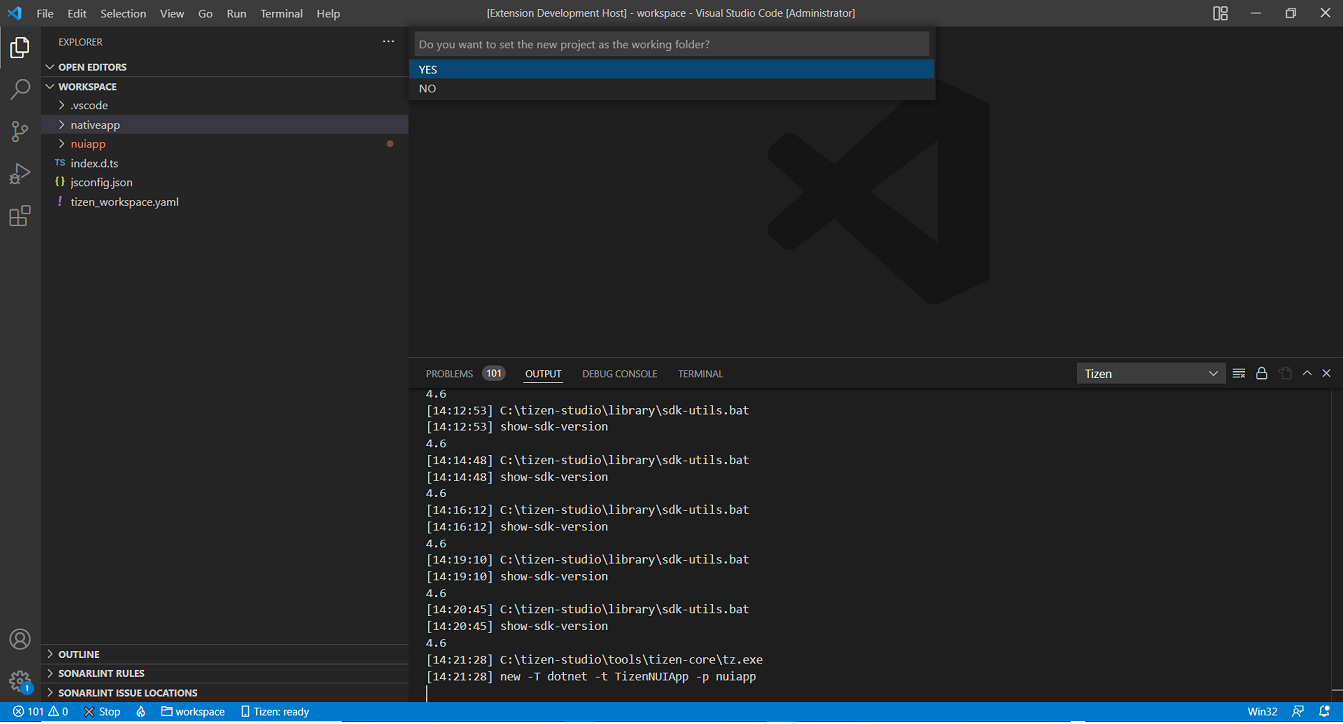
If prompts for setting current project as working folder, select Yes or No.
Select Working Folder
-
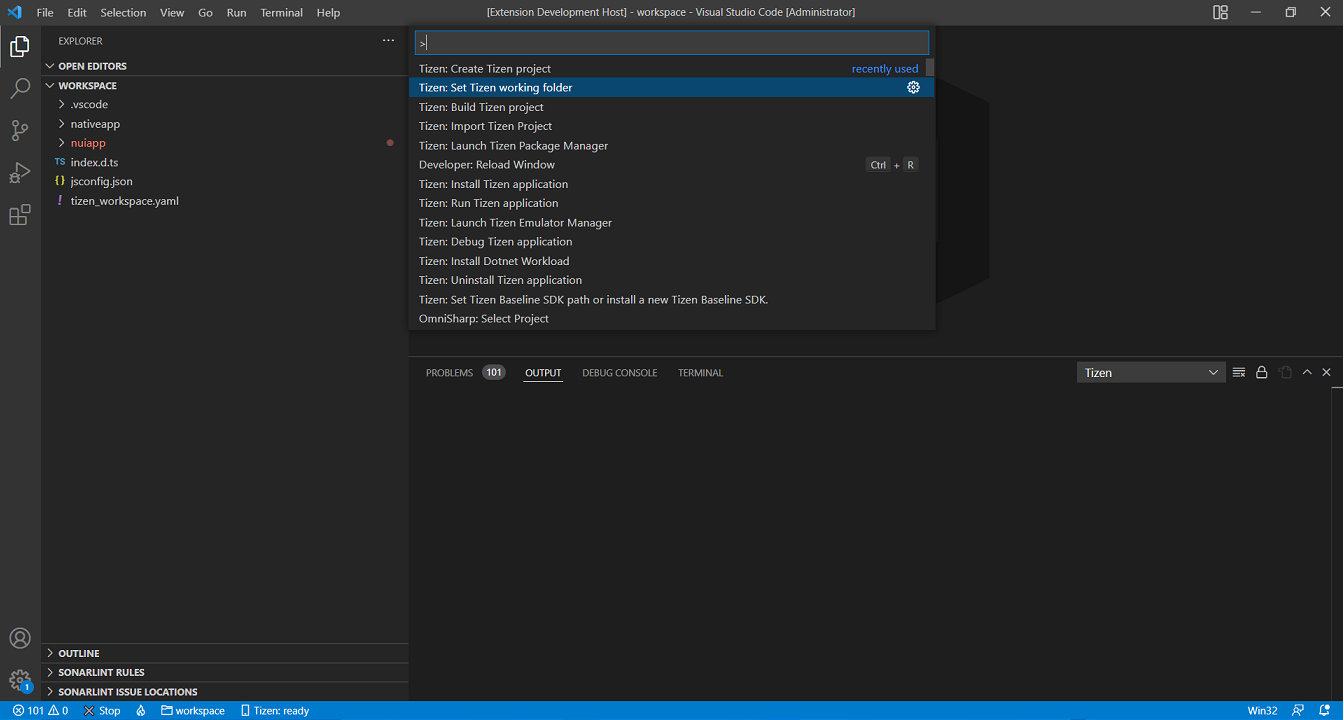
Open the Command Palette and select Tizen: Set Tizen Working Folder.
-
Select the working folder of Tizen.

-
Selected working folder will be updated in workspace.yaml file.
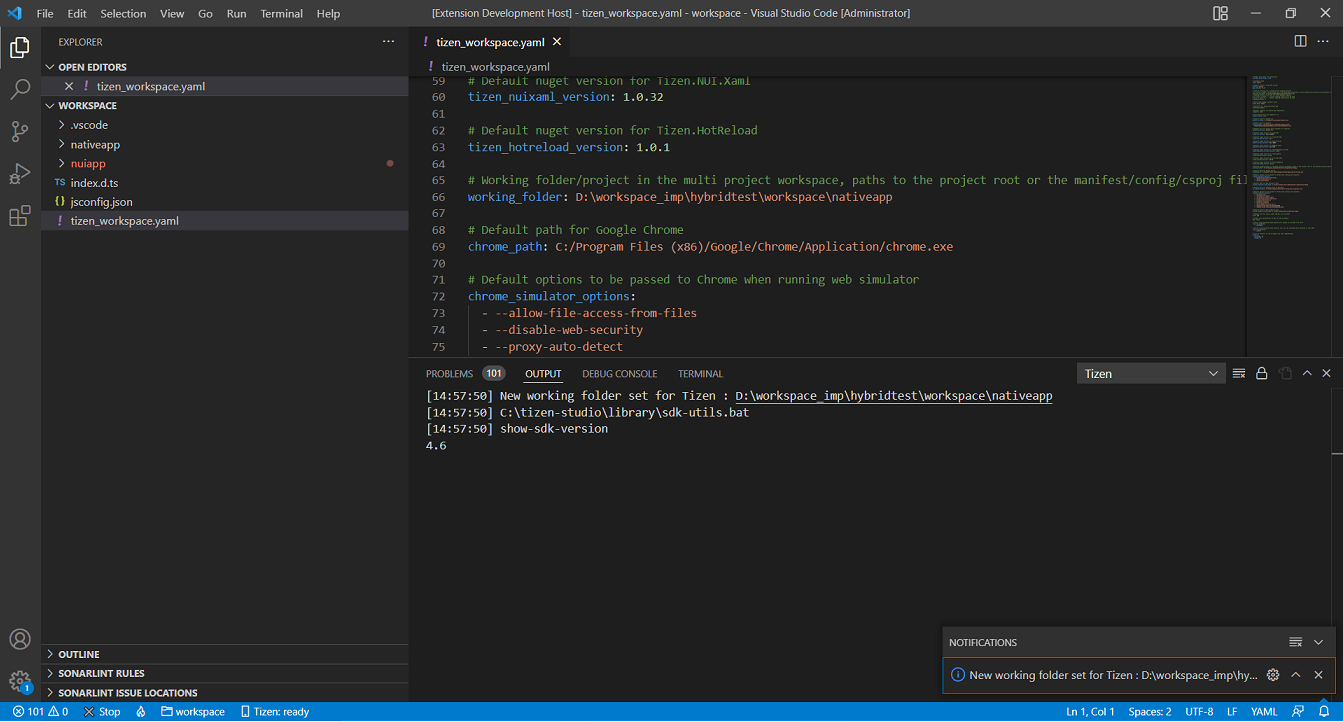
Selected working folder will be considered as main app.
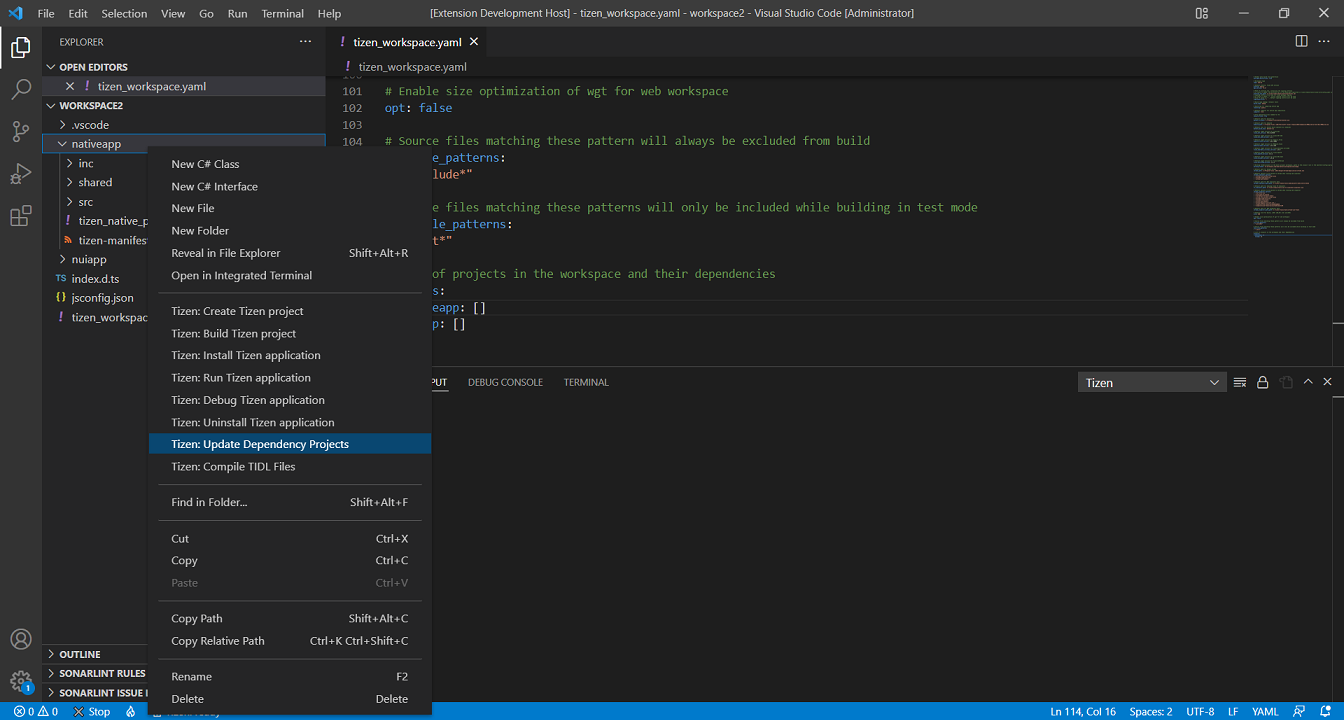
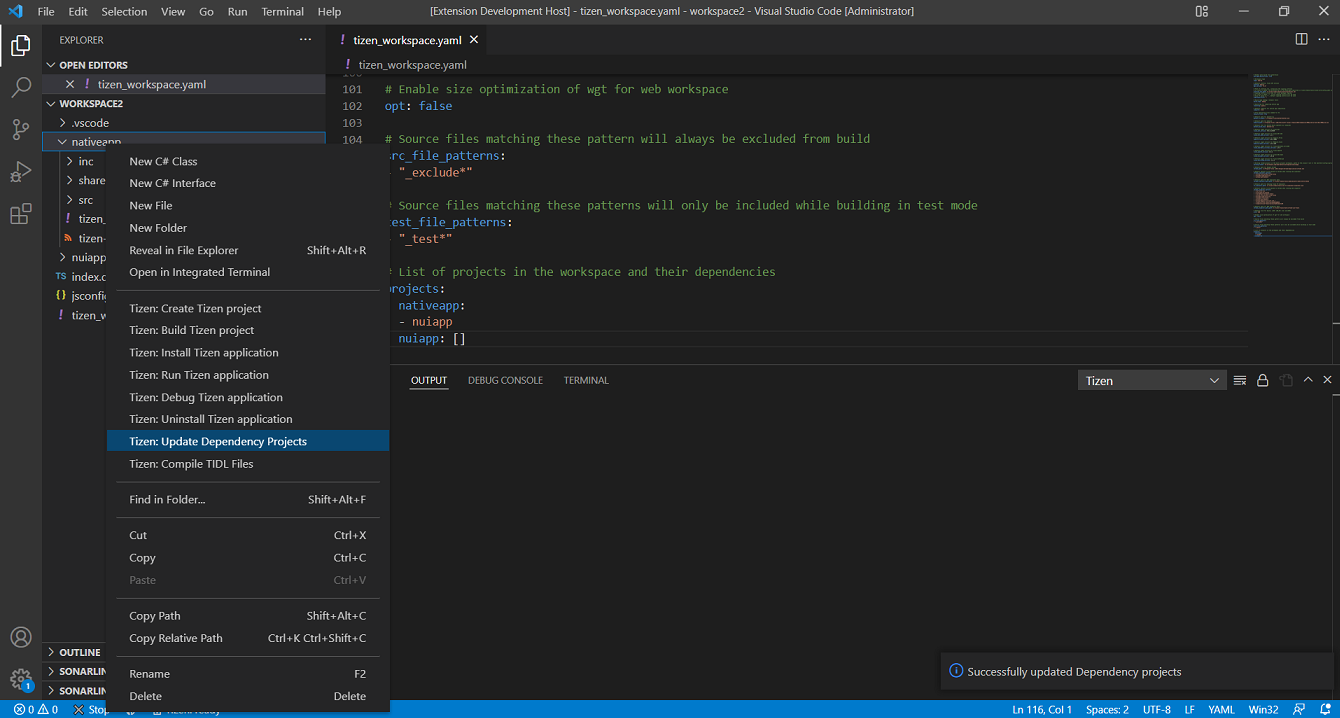
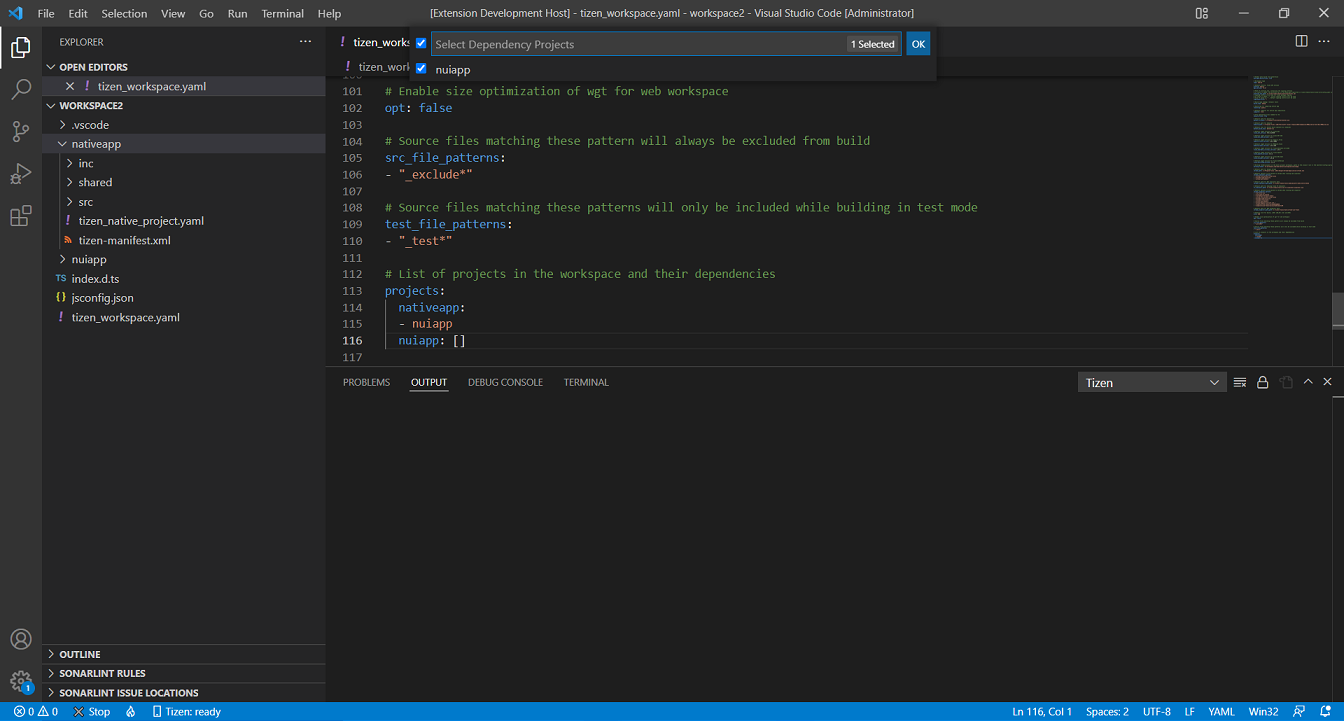
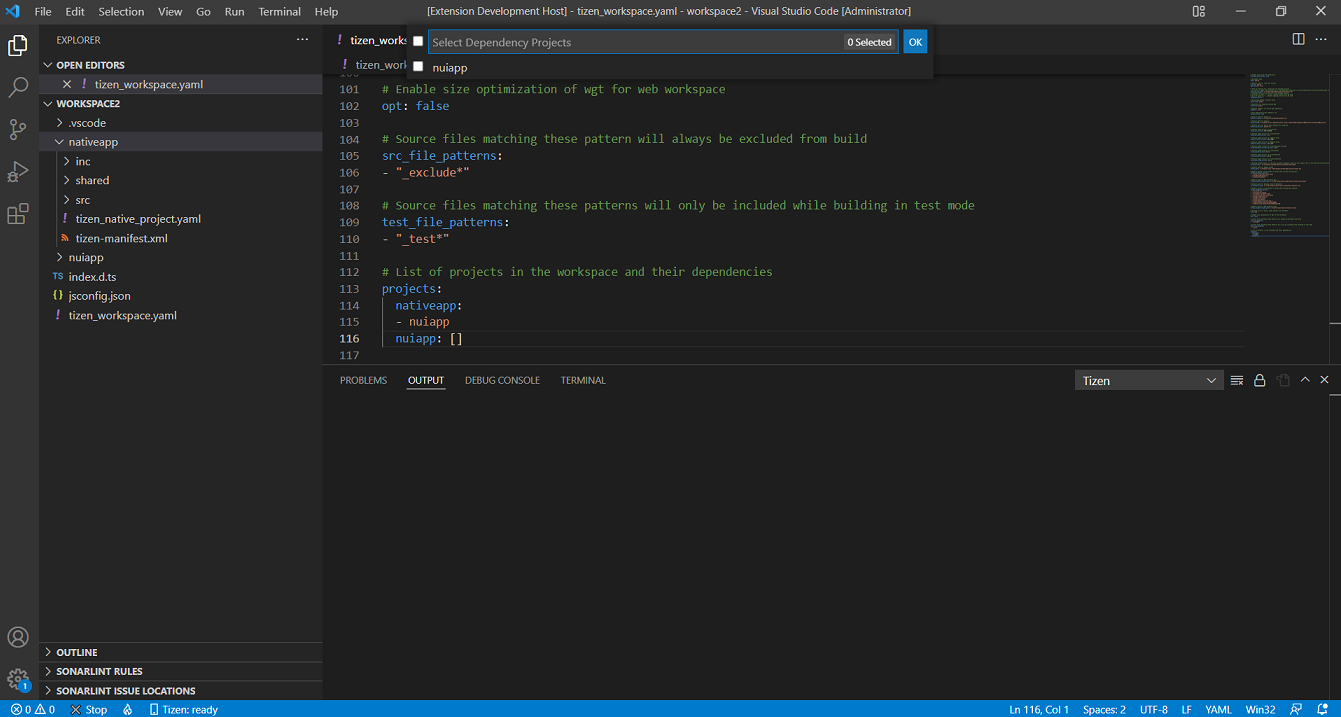
Update Dependency projects
-
From vscode File explorer Right click on main app and select Tizen:Update Dependency Projects.
-
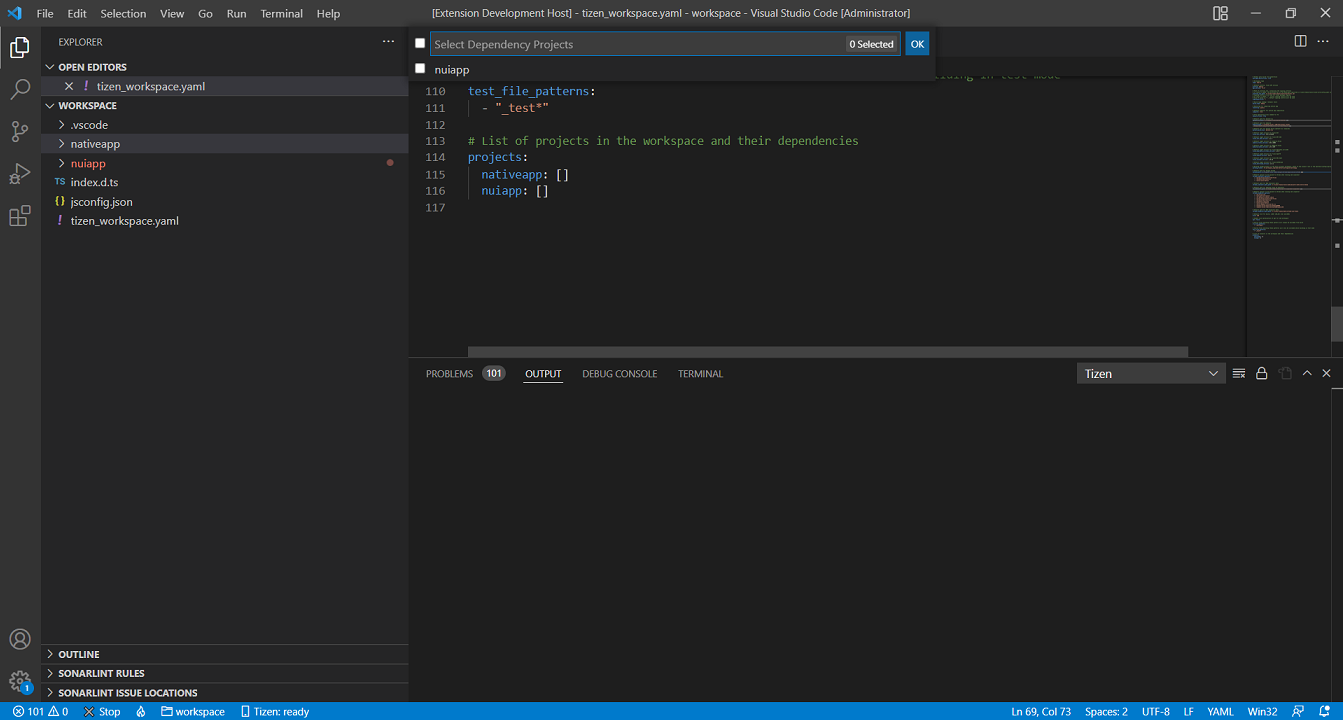
Quick pick list with project list for selection will be displayed.
-
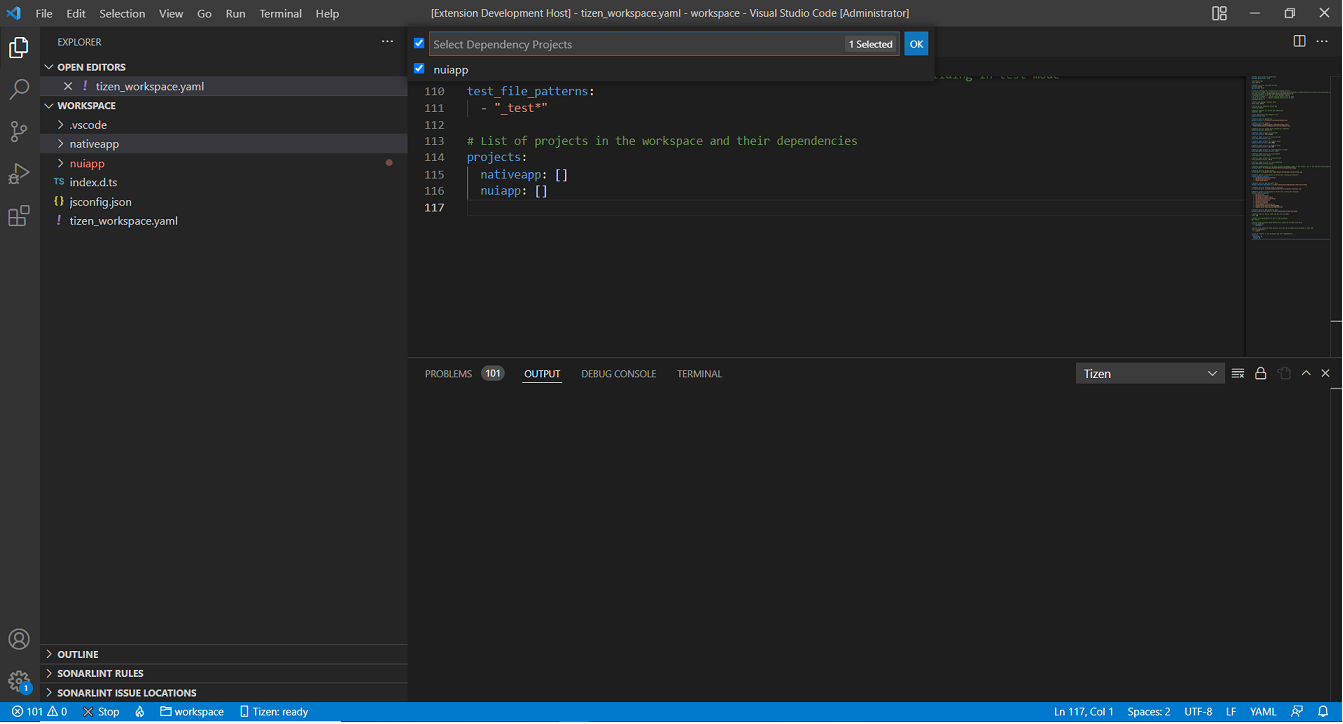
Select the dependency projects and press OK button.
-
Selected dependencies will be updated in workspace.yaml file

The Hybrid app is successfully created with selected working folder as main app, and selected dependency projects to main app as sub apps.
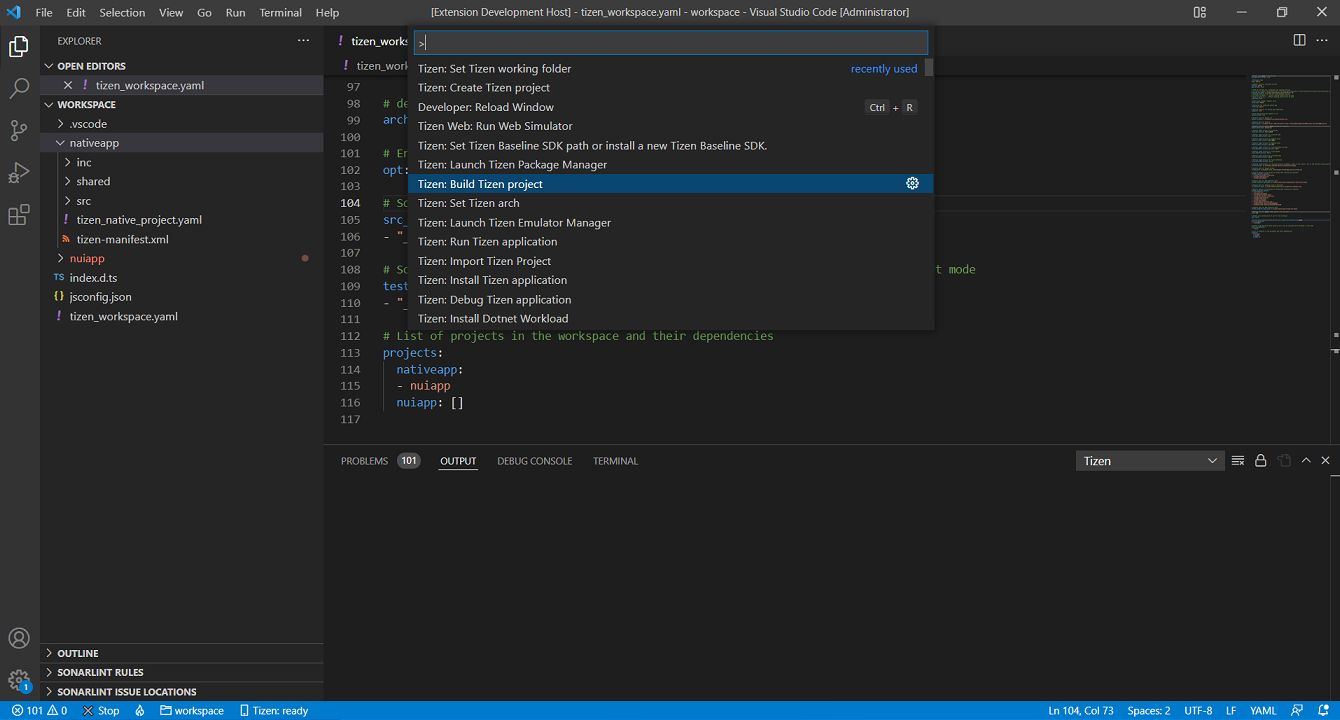
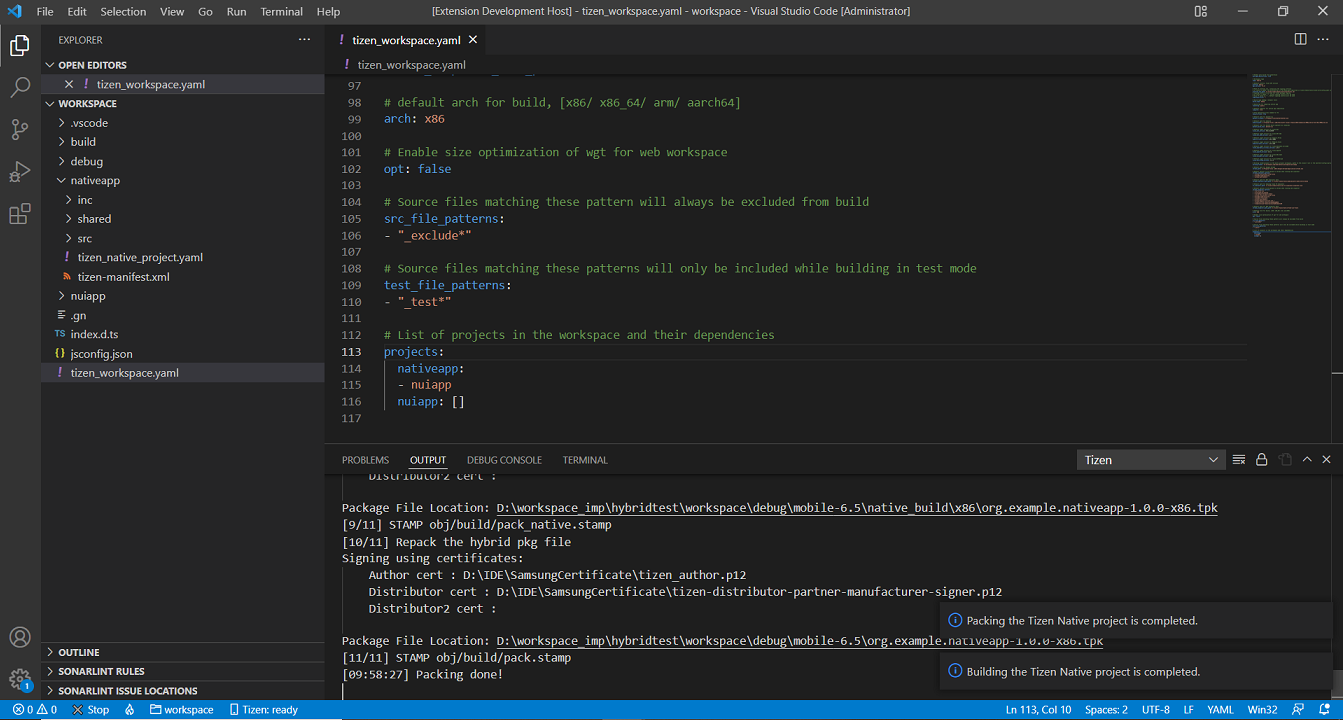
Build your project
-
Open the Command Palette and enter build. Select Tizen: Build Tizen project.
-
Review the build results in the output window, and check the location of the package file (.tpk).
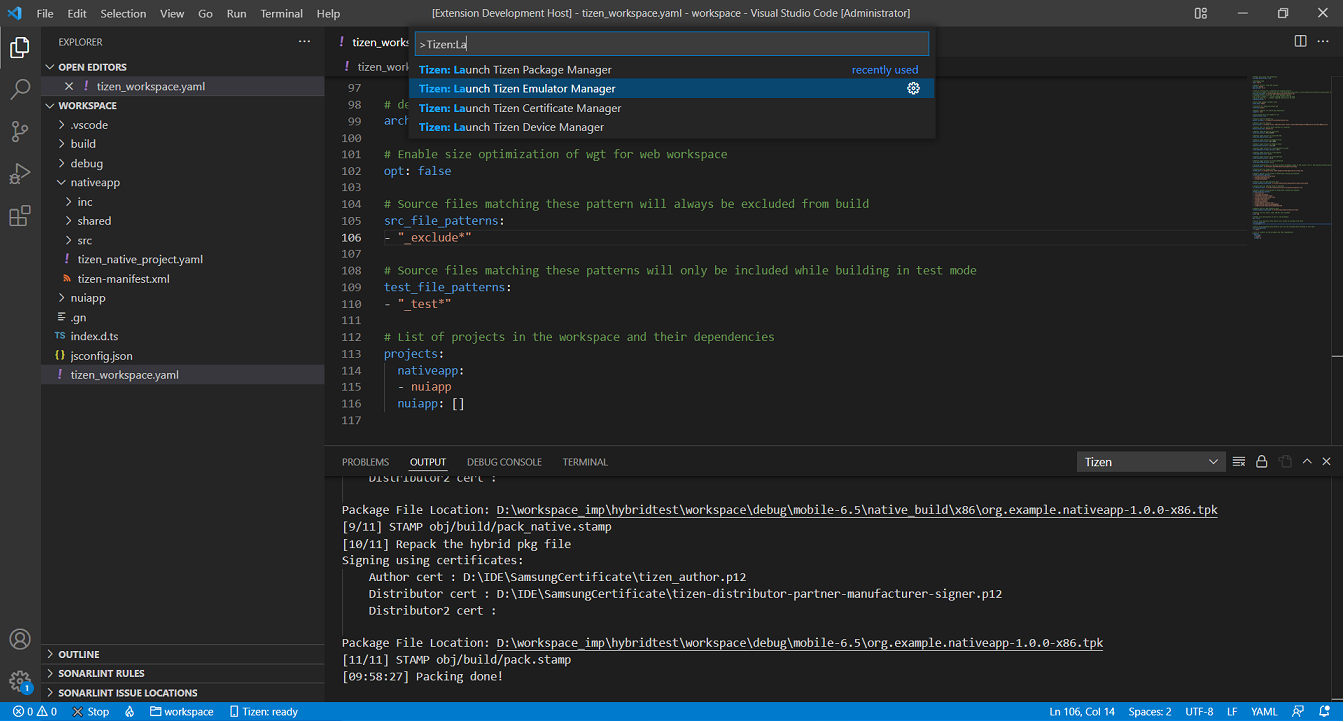
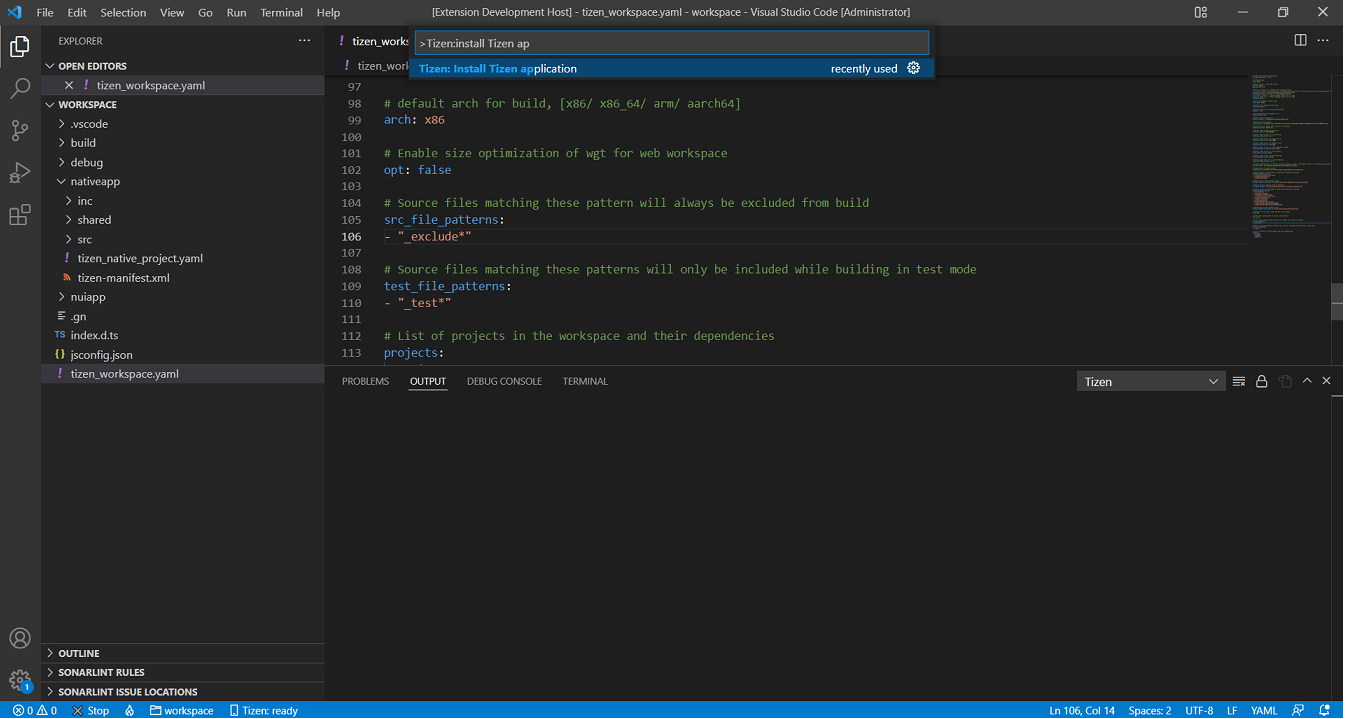
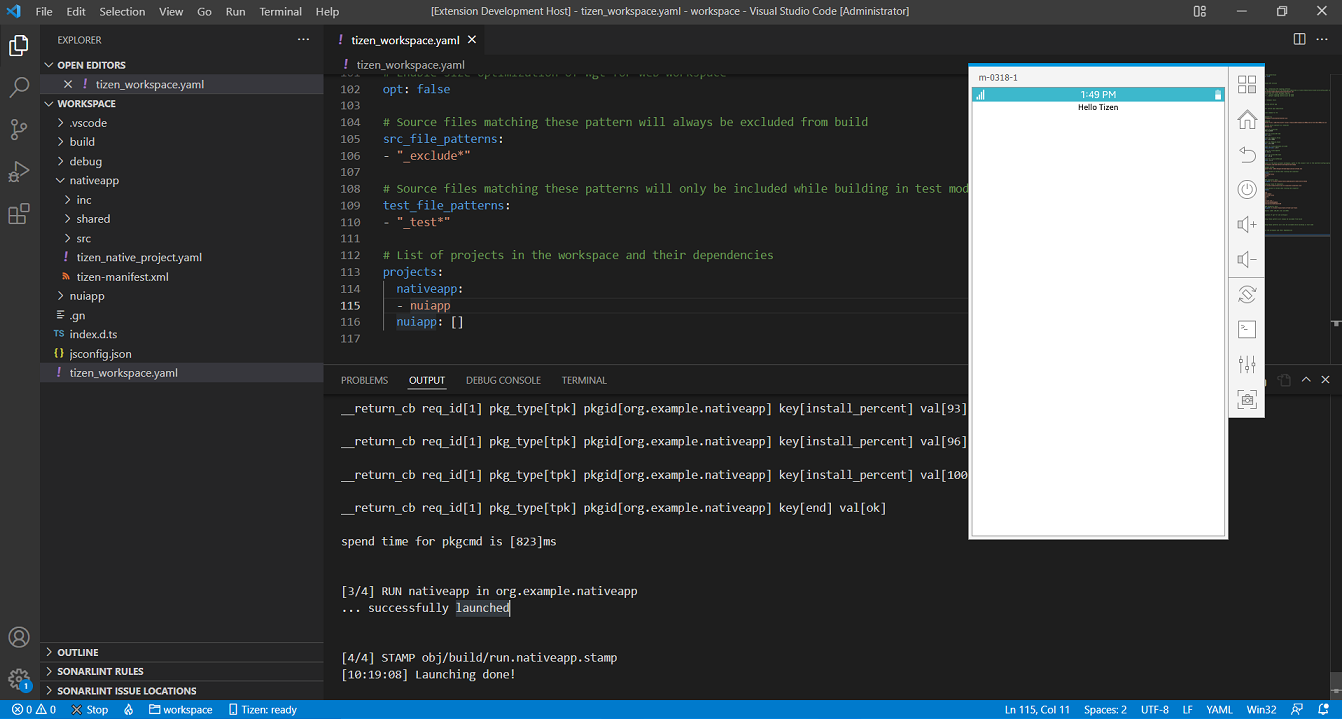
Deploy and run your application in emulator
-
To launch the Tizen Emulator Manager, open the Command Palette and enter emulator. Select Tizen: Launch Tizen Emulator Manager.
-
Create and launch an emulator instance in the Emulator Manager.
-
To deploy your application to the target, enter install Tizen in the Command Palette and select Tizen: Install Tizen application.
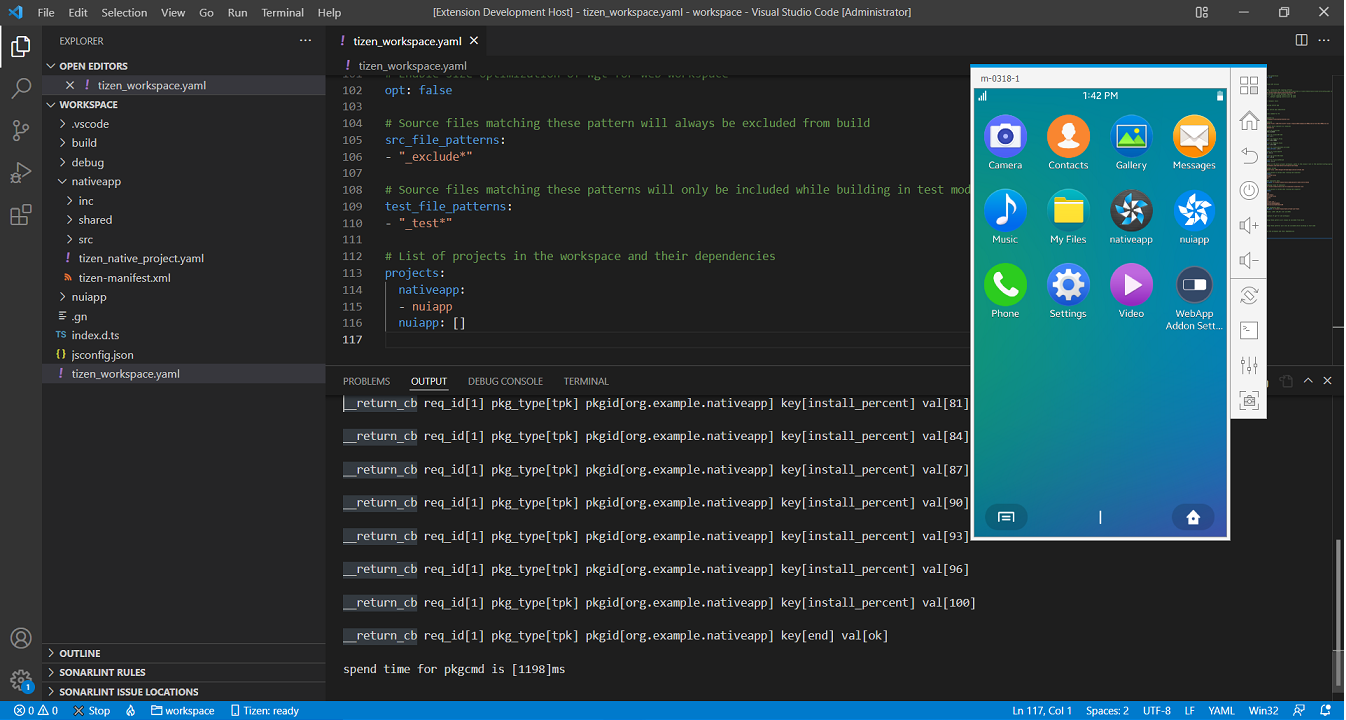
-
To run the application on the emulator, enter run in the Command Palette and select Tizen: Run Tizen application.

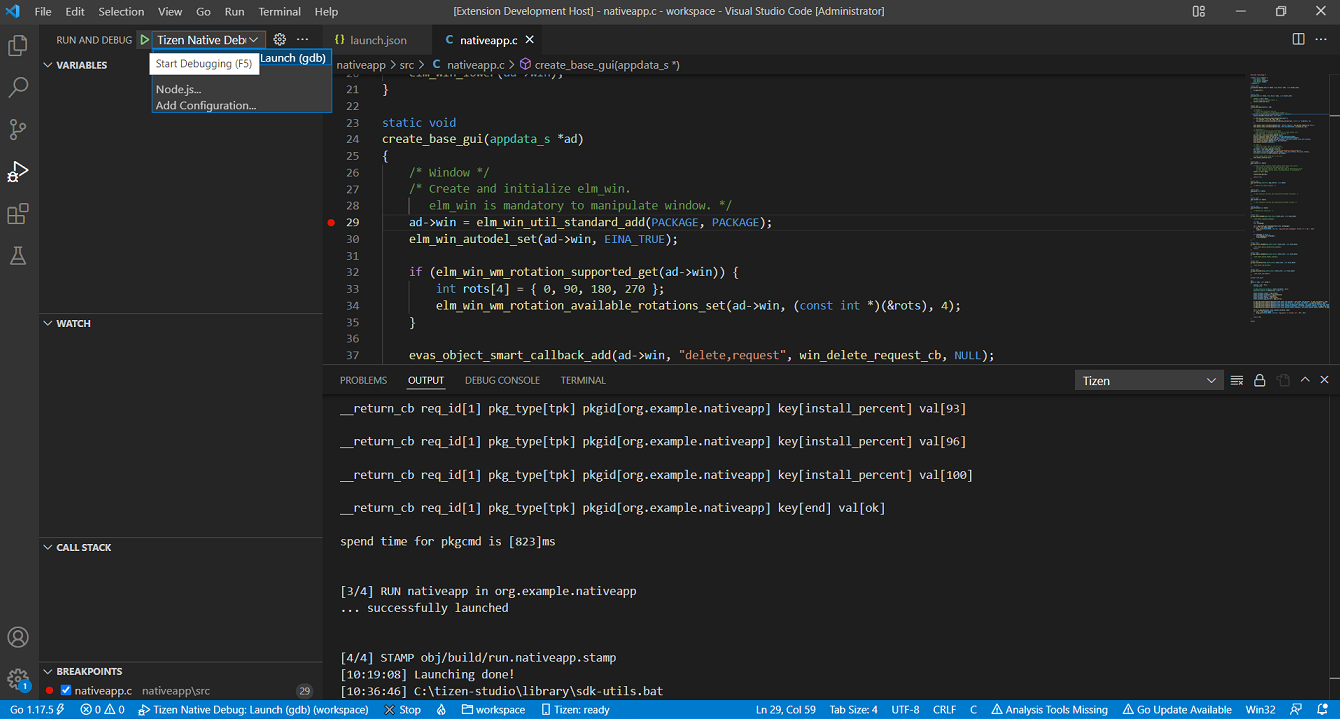
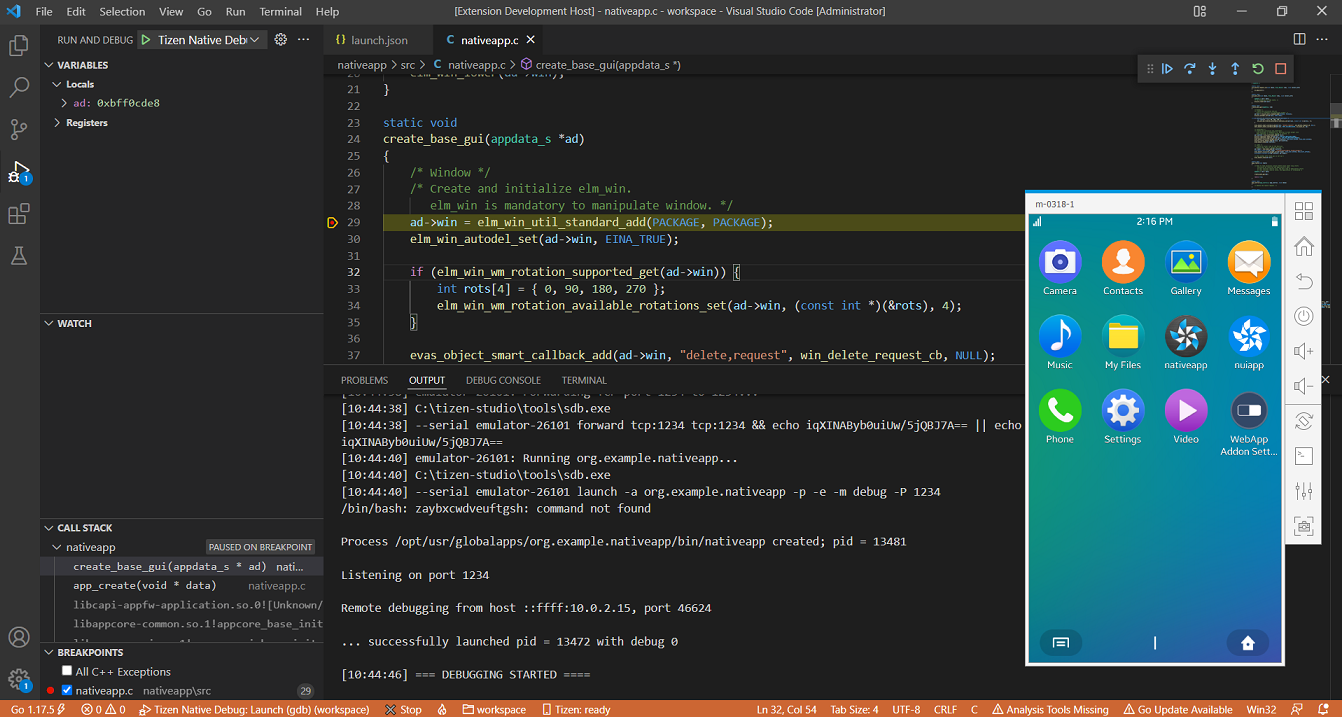
Debug your application in emulator
-
Deploy and run your application in the emulator.
-
In the Visual Studio Code Activity Bar, select the Debug icon.
-
In the Debug view, open the Configuration drop-down menu and select Add Configuration or select Create a Launch.json file.
-
Select GDB for Tizen Native in the list of configurations.
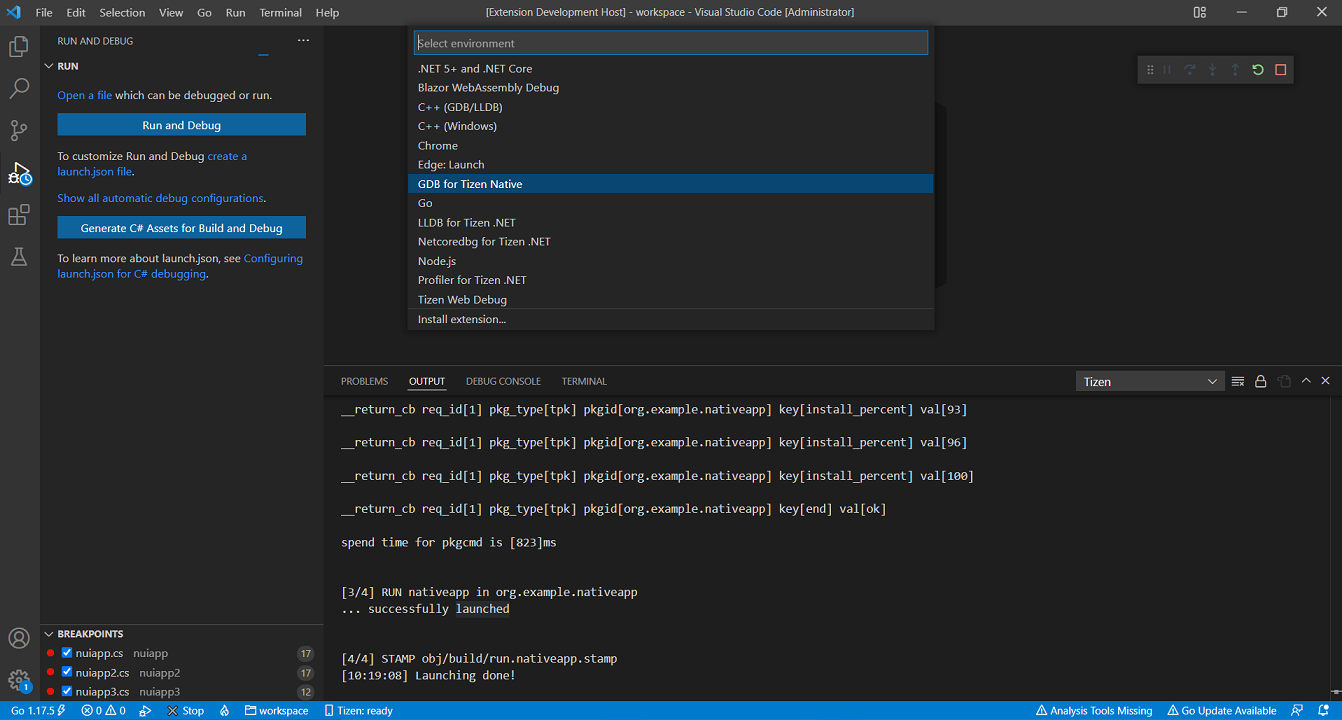
-
Add a break point in your source code.
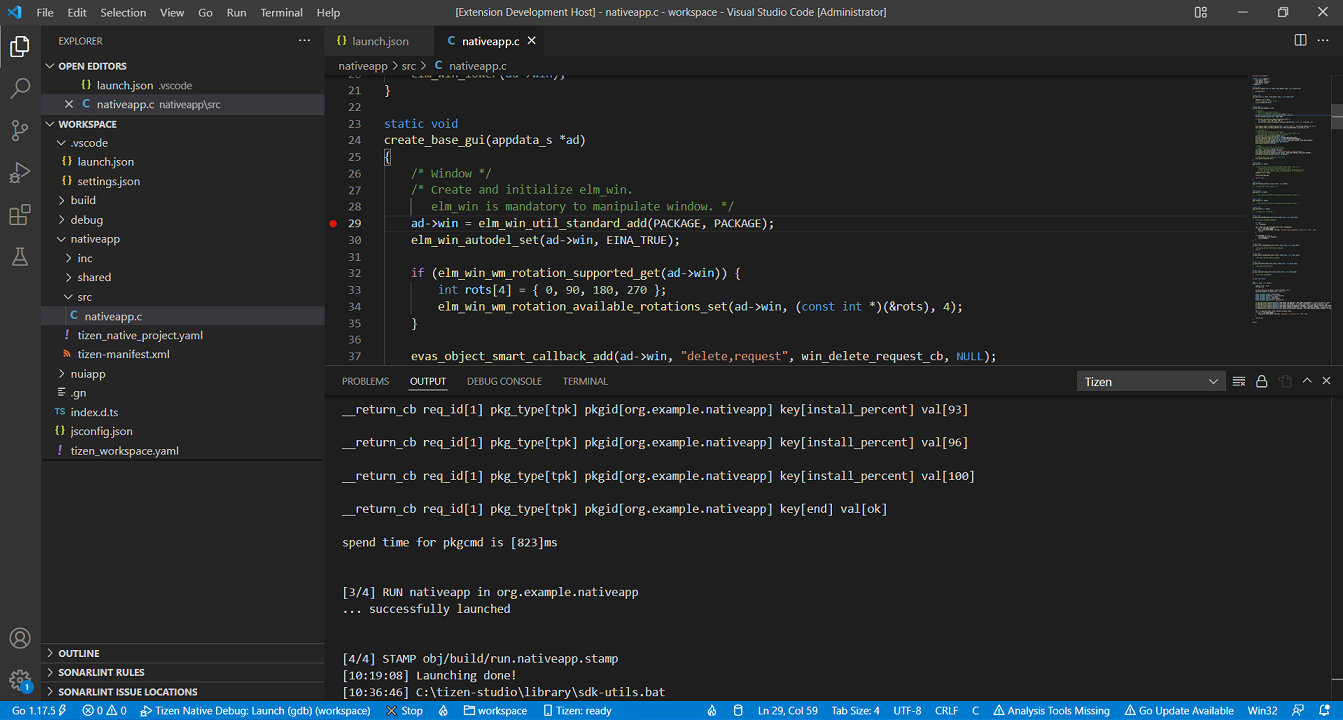
-
Start the debugging session by pressing F5.
To debug dotnet application, set dotnet app as main app, set native app as dependency app to dotnet app. Refer to Debug your application in emulator section for details.
Remove dependency projects
- Already added dependency projects (sub apps) can be removed from main app
-
From vscode File explorer Right click on main app and select Tizen:Update Dependency Projects.
-
Quick pick list with project list for select/deselect will be displayed.
-
DeSelect the dependency projects and press OK button.
-
removed dependencies will be updated in workspace.yaml file
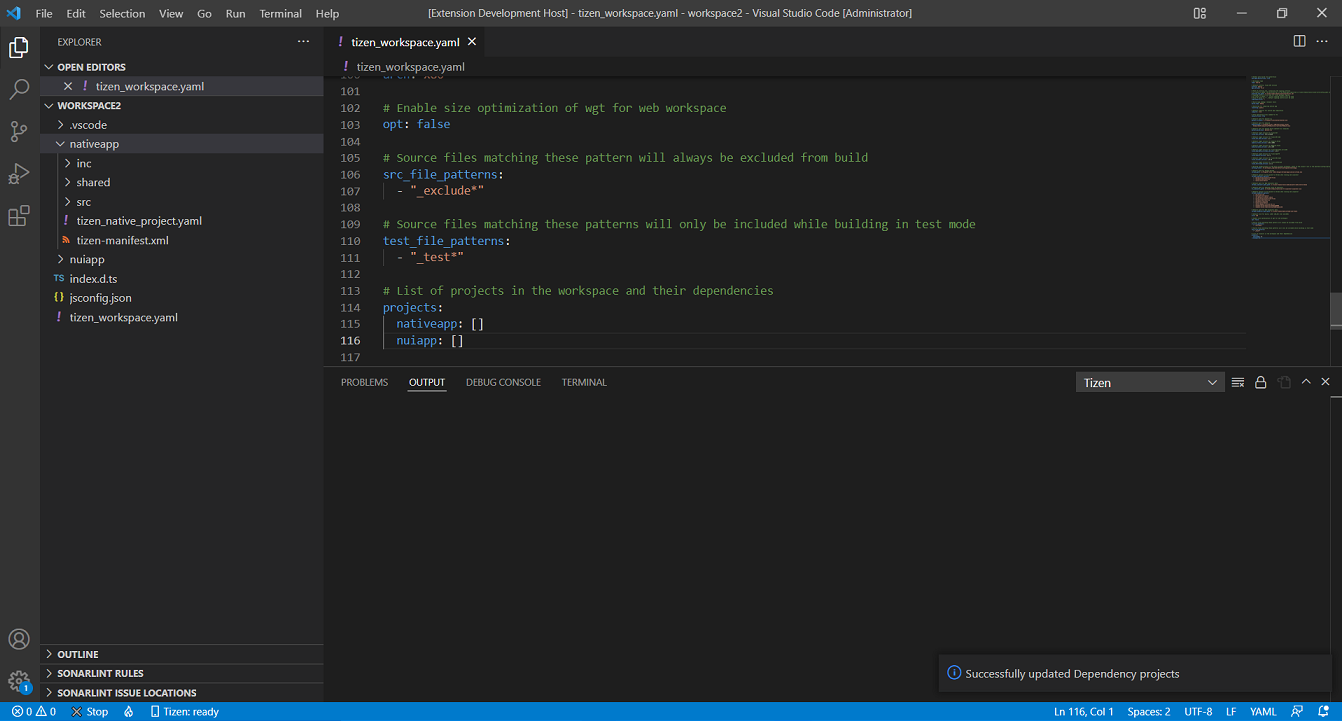
Deselected projects will be removed from dependency project list from main app.